Let's talk about single-serve recipes!
Getting back to what this newsletter is really about!
I’m back after a brief newsletter hiatus, and I want to talk about single-serve recipes!
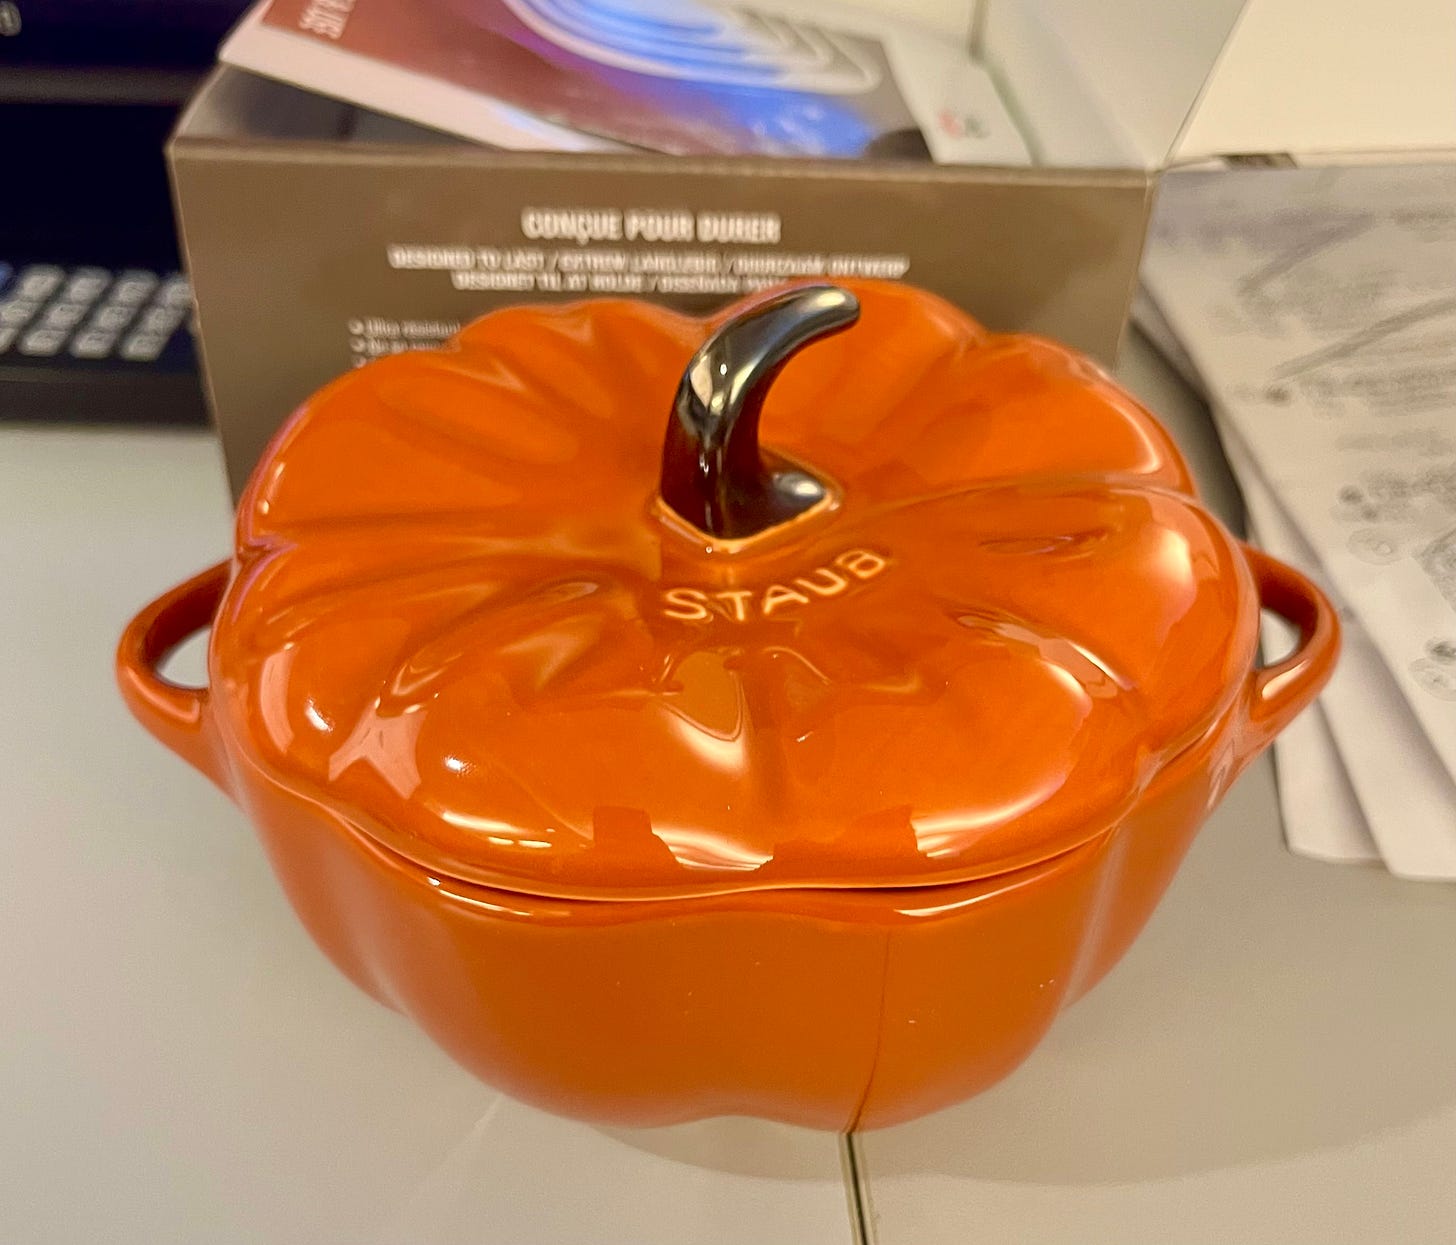
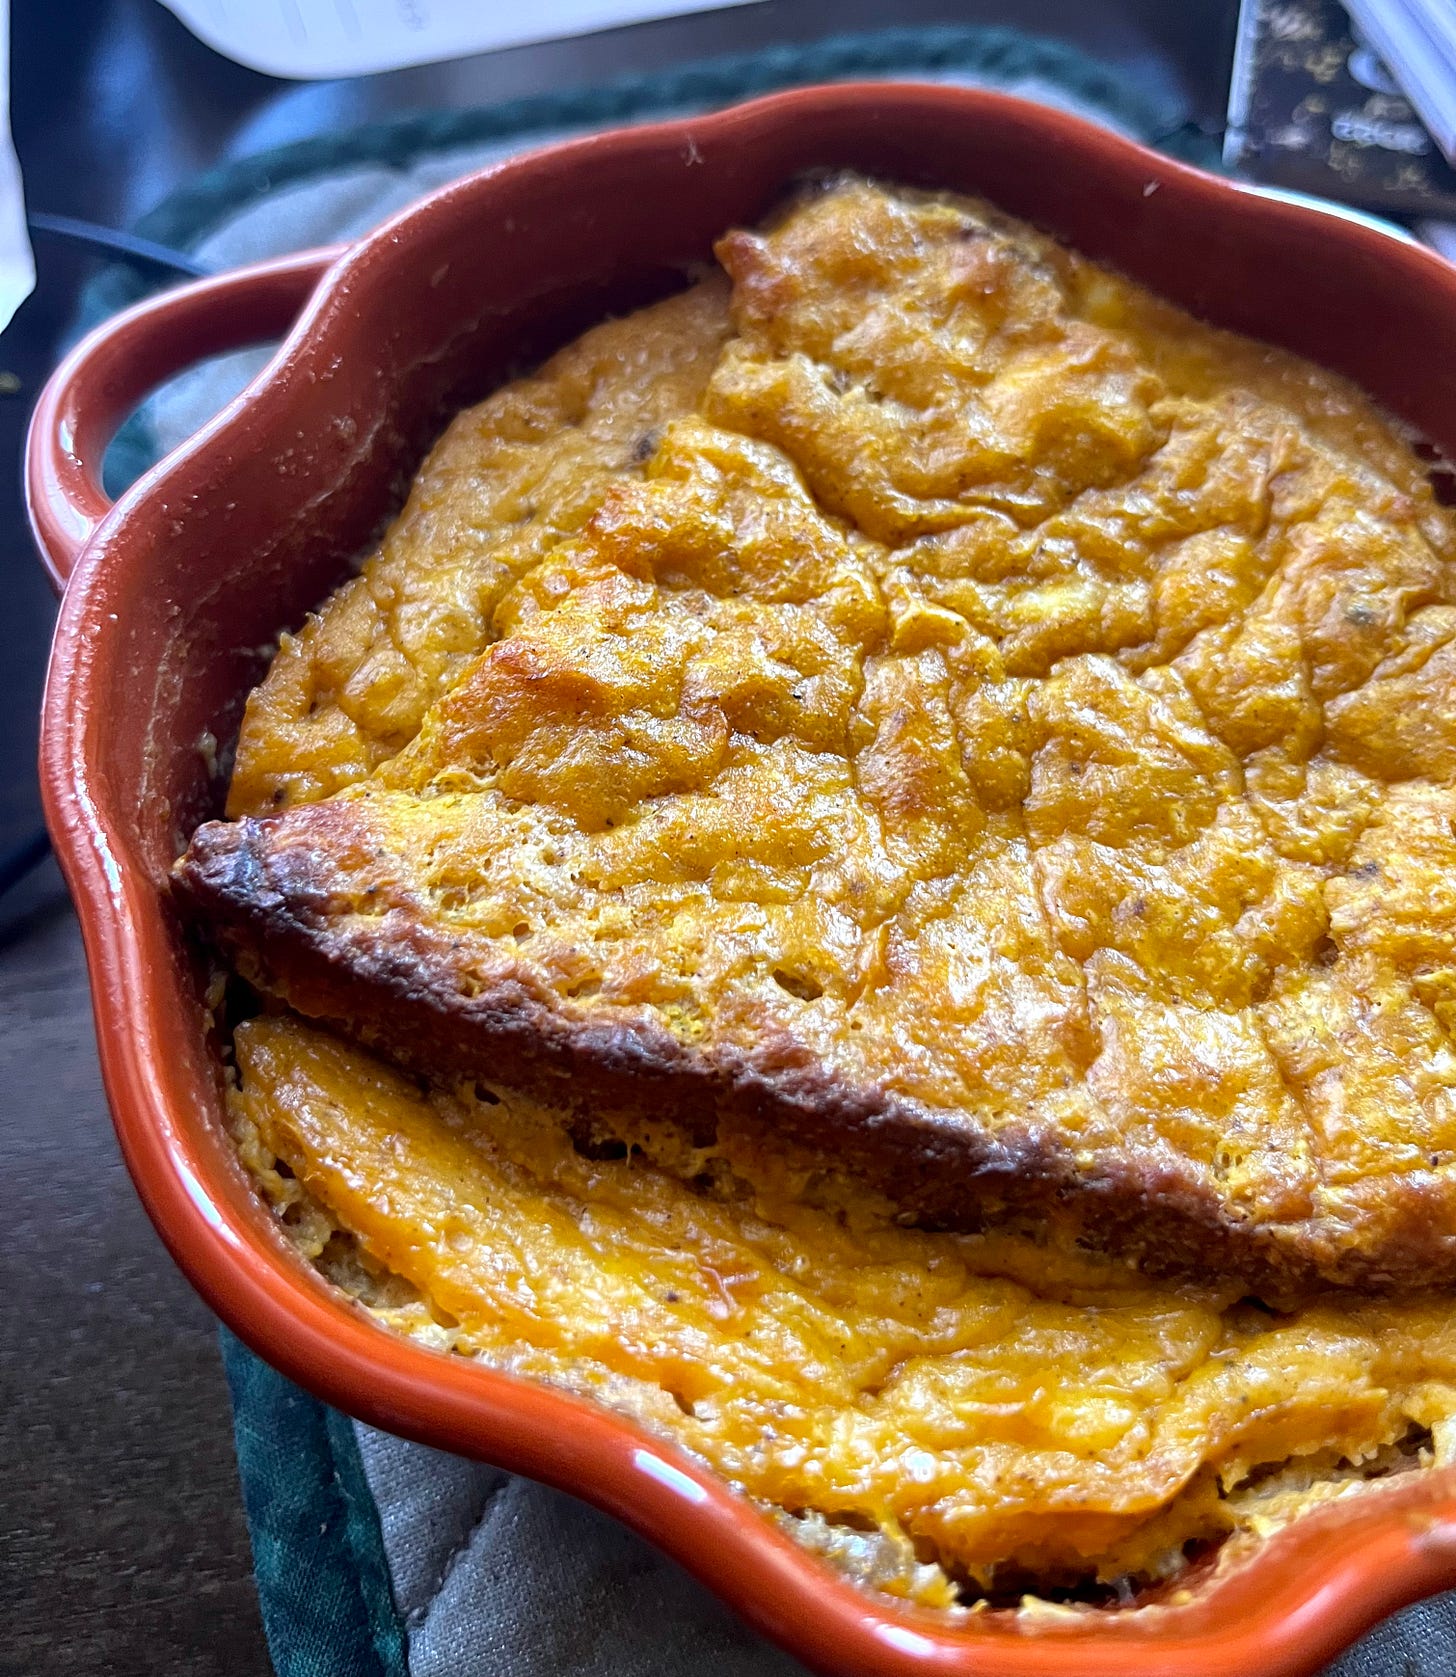
Lately, I’ve dived back into scaling recipes down to be fit for one person. Maybe it’s because I’m obsessed with this AMAZING mini pumpkin cocotte I got that’s perfect for single-serve bakes! (Basically, for the past two weeks, if I find a recipe that I can’t make in the baby pumpkin, I don’t make it.) Or maybe it’s because I’ve been overwhelmed lately by the amount of leftovers piling up in my fridge, and I want to make things that I don’t have to worry about tomorrow. I love leftovers (that’s a topic for a different newsletter), but if I end up with too many, there’s always a lingering pressure every time I open my fridge, as my filled-up tupperware containers reminds me of what I SHOULD be having for dinner.
I know it can be a somewhat tiring endeavor to make something new every night, but I find it can also take some pressure off if you’re cooking for yourself. At the end of the day, cooking actually gives me energy back—I look forward to creating something new.
Scaling down recipes comes with the cooking-for-one territory. It usually involves a lot of math (who knew fractions would need to come in so handy?) and a fair amount of improv. And don’t even get me started on international conversions! If anyone has a recommendation for a calculator that can live safely in the kitchen, please let me know.
I’m going to share some of my go-to tricks for scaling down recipes, and hopefully they’ll help you approach your cookbooks if you’re cooking for yourself!
First, let me tell you about what I call the “one-egg method”. Typically, when I’m approaching a recipe I want to scale down, I start by looking at the number of eggs it calls for. It’s pretty tough to only use half an egg (it’s possible, and I’ve done it, but it’s not ideal!). So if a recipe with multiple servings uses say, 3 eggs, I divide everything by 3 so that the whole process is based on just one egg. Sometimes, this trick still leads to having too many servings. If that’s the case, I have to hope the recipe lets you freeze your prep-work. And if not, then leftovers it is!
Next, don’t be afraid to improvise in a recipe, even if it’s your first time making it. I don’t mean huge changes—just small ingredient substitutions or omissions based on what a solo cook has in their fridge. For example, I end up leaving cilantro out of a lot of recipes—not because I don’t like it (I love it, and if it tastes like soap, then I love it even more) but because I find it’s a difficult ingredient to use up. Whenever I buy a bunch, I always end up wasting it, and then feeling bad about it, so I anticipate that feeling in the grocery store and I end up purchasing it less often. If I leave it out of recipes though, I find that I rarely miss it. Similarly, if I’m making soup for one, I may use water instead of cracking open a whole box of stock, or I might substitute miso paste for tahini just because I have it (like in my single-serve Baba Ganoush recipe). If you’re open to improvising and experimenting a bit, recipes will seem a lot less intimidating, and it’s another way to ease the pressure of grocery shopping for yourself.
Make yourself a measurements cheat sheet! Instead of getting flour on your phone every time you have to look up how to halve 3/4 cups of flour, make yourself a go-to cheat sheet with a list of easy measurements you use often. Saves you a lot of mental math…
Lastly, embrace your tiny cookware! That’s what has inspired me lately to make single-serve dishes! A smaller sized cast-iron skillet, a half-sized baking tin, or a CUTE pumpkin cocotte will help inspire you to scale down big-batch recipes, like dutch babies, cakes, and more.
Below are some of my pared down recipes that are perfect for one person. They include a single-serve dip (because we all deserve to have dips for dinner whenever we want to), a single-serve soup (I always make HUGE amounts of soup that I end up eating for days, but a one-and-done soup is exciting in itself!) and a couple of breakfast ideas that are perfect for a treat-yourself weekend. I hope you enjoy them!
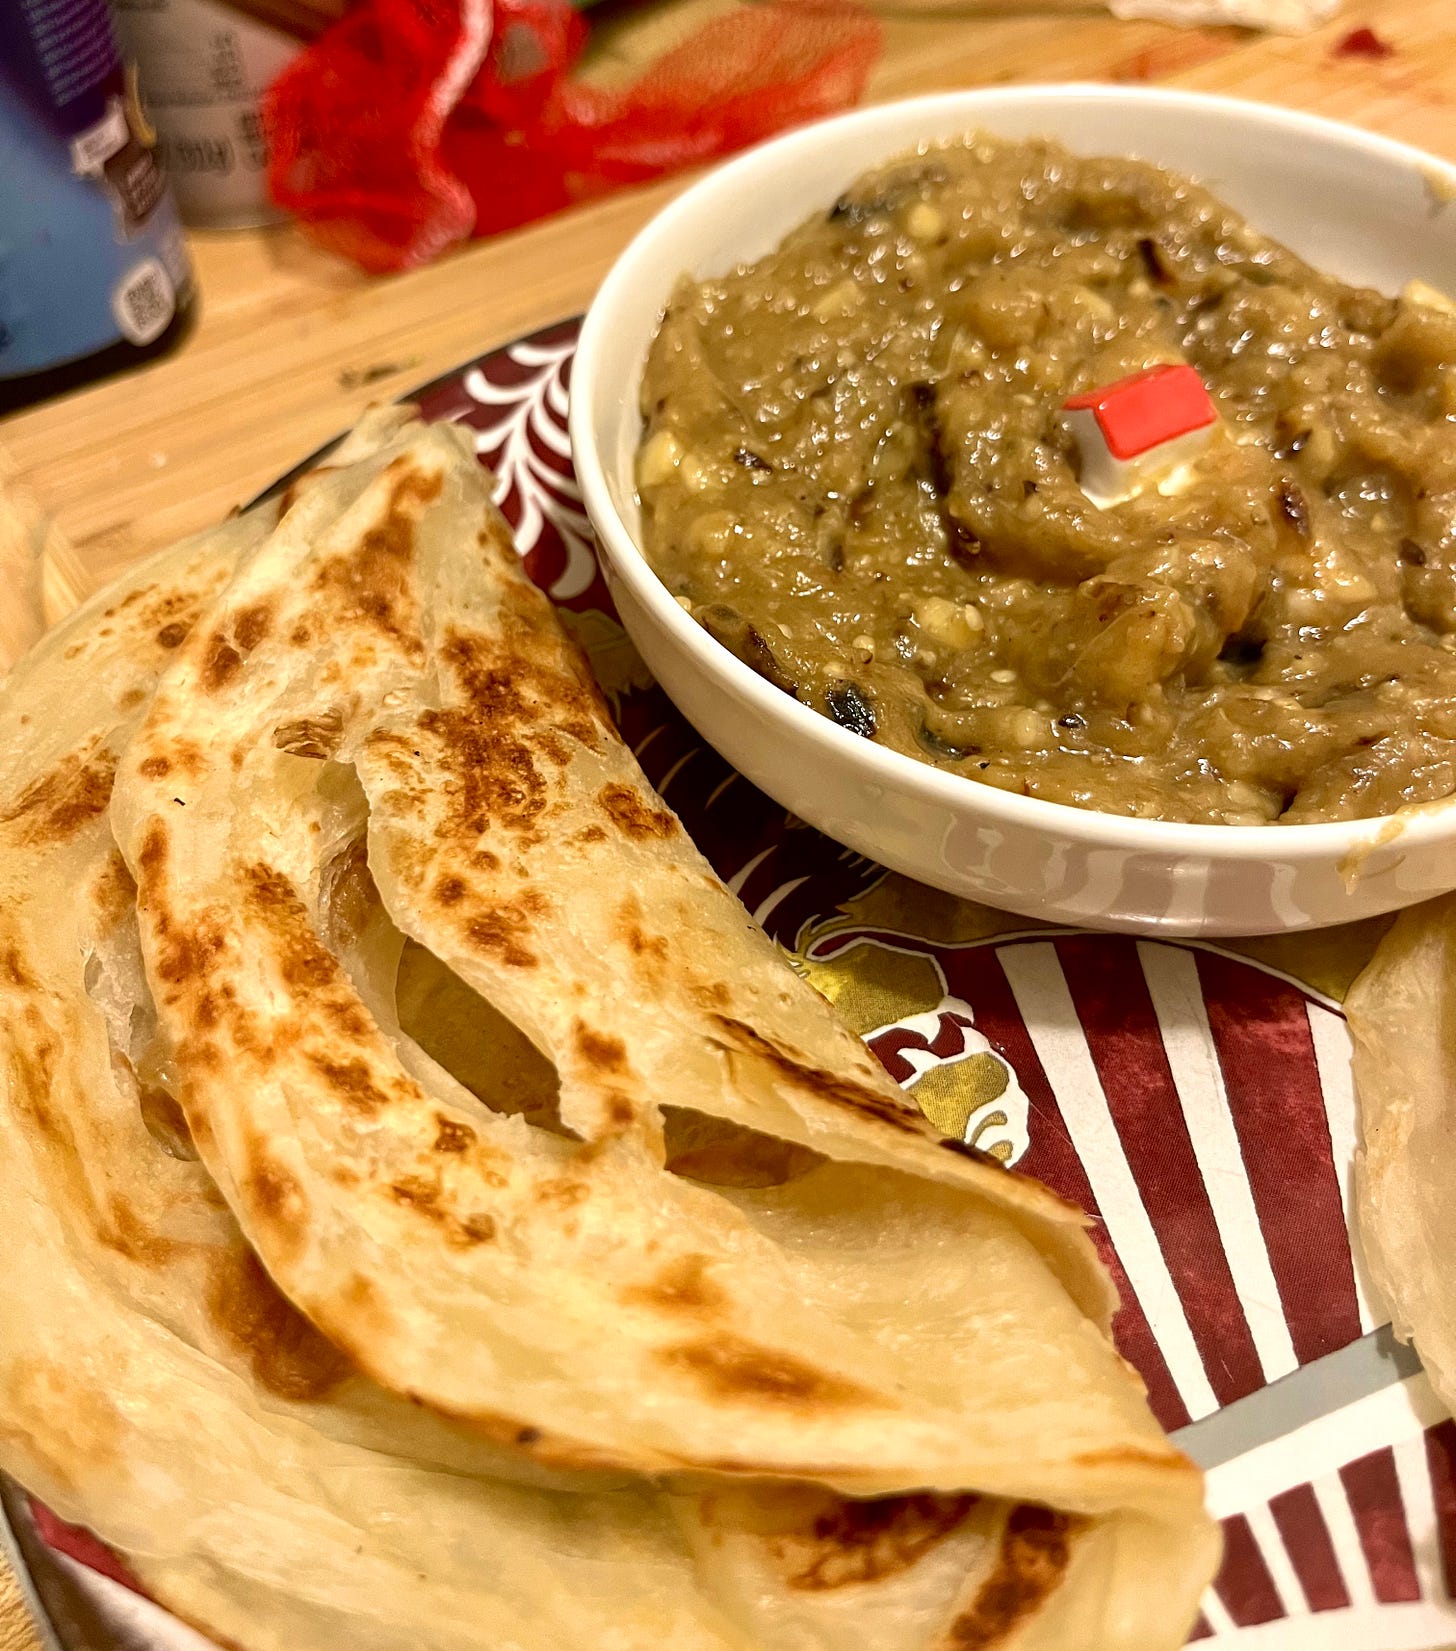
Baba Ganoush for one
Time: 45 mins | Difficulty: 2/5 | Recommendation: Weeknight dinner
I love dips! I love making them, I love eating them, and I love using eggplant and other summer vegetables in new ways. But often, recipes for dips make enough for multiple people, and some things are best eaten fresh. This baba ganoush is scaled down to be a perfect amount for one person, if you’re adding some flatbreads and/or crudités on the side! I use miso paste here, but you could use the traditional tahini if you prefer—I actually find the miso adds a really nice, tangy nuttiness.
Ingredients/Special tools:
One medium-sized eggplant
1 clove of garlic
1 tablespoon of miso paste
Olive oil
Cumin powder
Paprika
Lemon juice
A very small saucepan or skillet
A big bowl
Tongs
Method:
Roast the eggplant: Heat the oven to 350 degrees and line a sheet pan with olive oil. Slice the eggplant in half. Douse it in olive oil, and roast flat-side-down for about 20 minutes, until the flesh is nice and charred!
While the eggplant is roasting, mince the garlic finely. Then add the miso paste to a small bowl and add a big glug of olive oil, and whisk with a fork to combine.
Add the miso/olive oil combination to the small pan, and add the garlic. Heat lightly until the oil starts to sizzle. (Add more oil to cover everything, if needed.) Let the garlic fry for about thirty seconds, until fragrant, then turn off the heat.
When the eggplant is done, let it cool slightly. Using tongs and a fork, scrape the flesh out of the eggplant and into the bowl, getting as much of the charred bits as possible. Add the garlic-miso-olive oil. Whisk everything very strongly with the fork until it all emulsifies and comes together.
Add a pinch of salt, cumin, paprika, and lemon juice to taste, and continue to whip it with the fork until it’s fluffy and emulsified! Serve with some flatbreads or crackers or veggies.
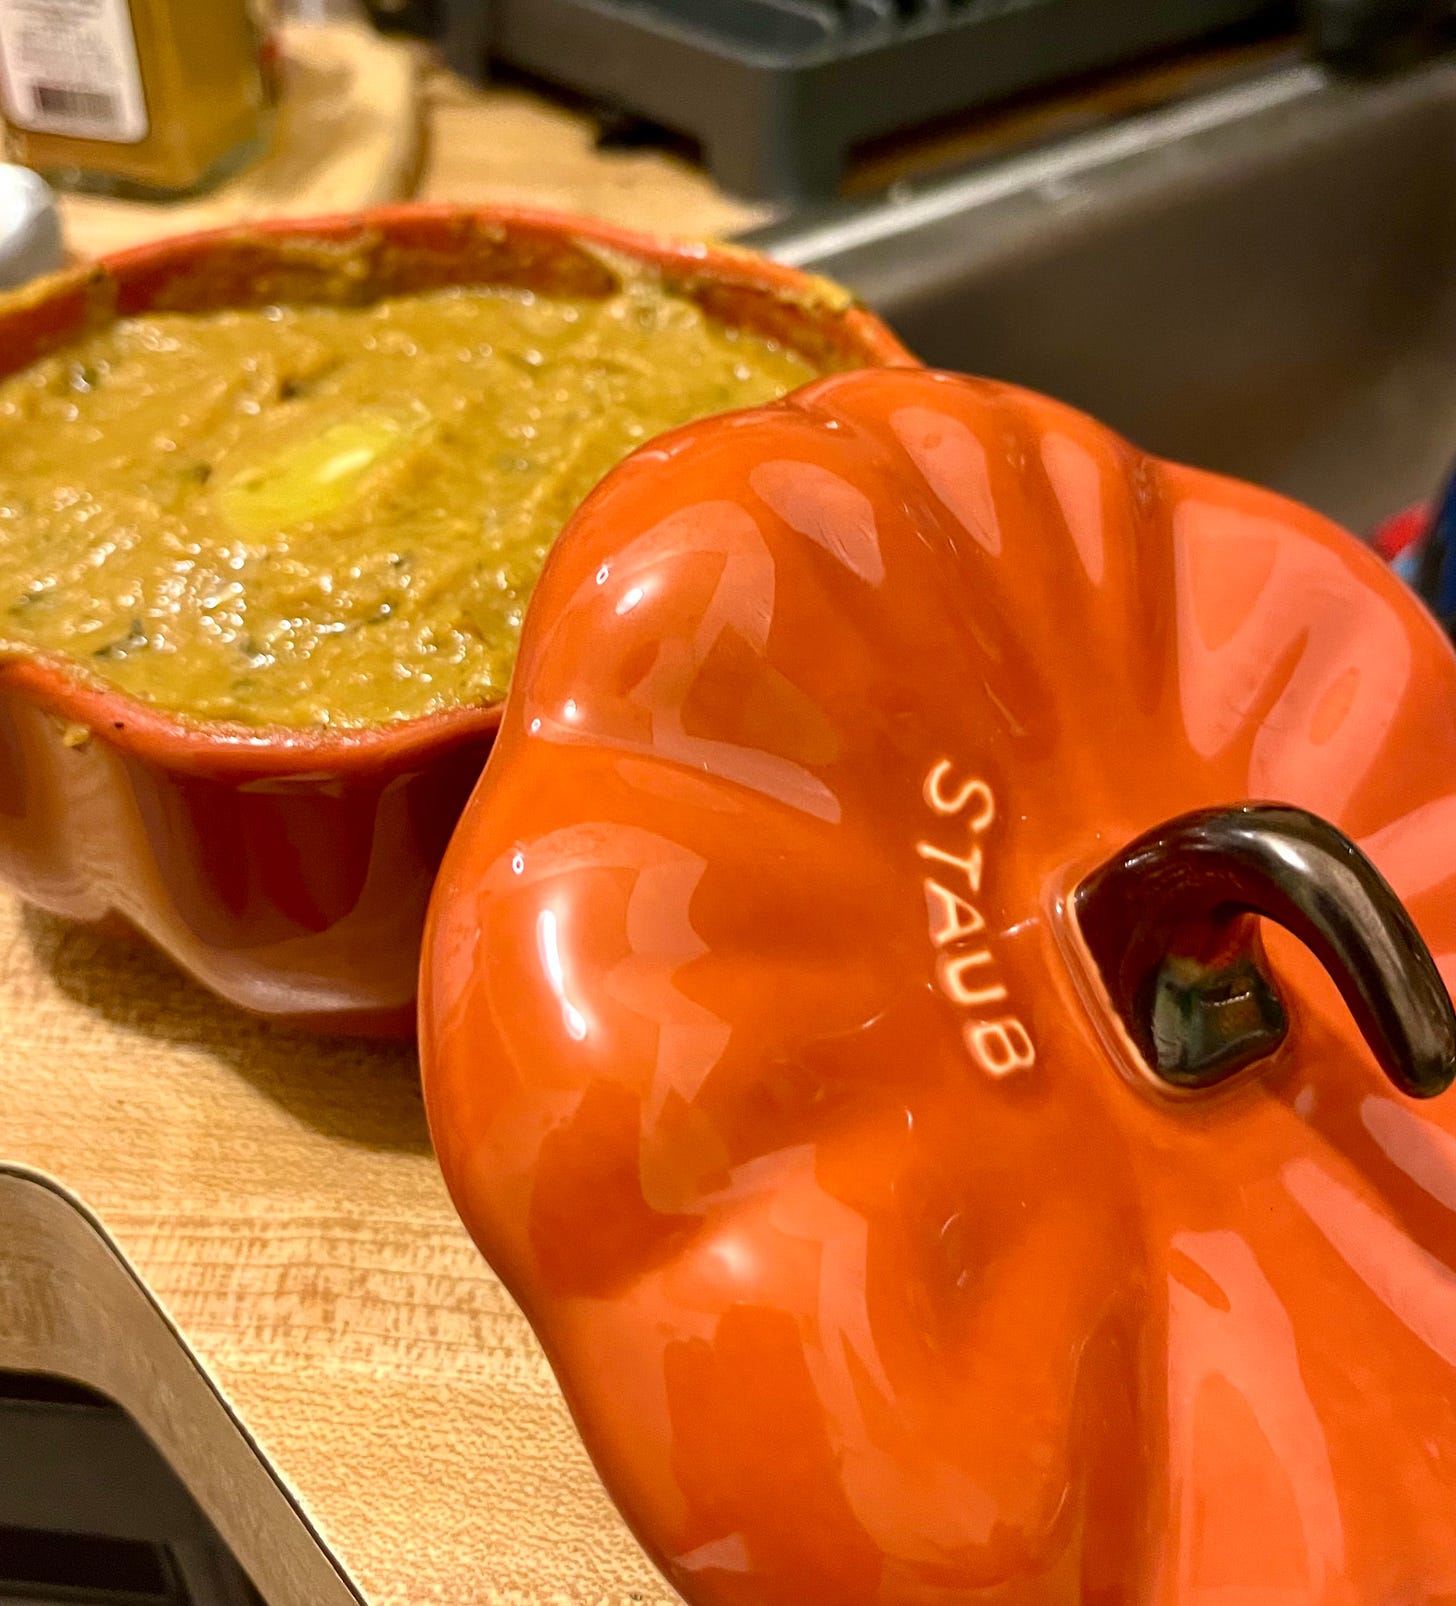
Pumpkin Apple Bisque
Time: 45 mins | Difficulty: 3/5 | Yield: 1 serving
This soup recipe is so delicious and warm, and will make you happy as we turn the corner into fall! It’s squashy from the pumpkin, sweet from the apples, and the heat comes from the curry powder and other spices you add. The baking step at the end is optional—if you prefer, you can simmer on the stove for a couple minutes instead. The best part of this recipe is that it is designed for one person! I typically make soups in big batches because they take so much stirring and effort, but this one is pretty simple and low-maintenance, and comes out perfectly if you’re cooking just for yourself.
Ingredients/tools:
1/2 a small onion
1 clove garlic
1/2 a small apple (just eat the other half!)
1/2 a tablespoon of butter
1/3 of a can of pumpkin purée
2/3 cups of water (or chicken/vegetable stock)
A splash of wine
Herbs/spices: Rosemary, sage, ground cloves, ground cinnamon, curry powder, salt, pepper
Heavy cream
An immersion blender (or a normal blender, if you prefer to transfer from the pot and then transfer it back in)
An oven-safe bowl or pot (optional)
Method:
Dice the onion and apple, and finely chop the garlic.
Add the onion and garlic to a small pot with the butter. Turn on the heat, and sauté until the onions start to become soft and translucent. Add in the apples and continue sautéing on low heat, until everything starts to soften and caramelize, about ten minutes.
Add the rosemary and sage and stir.
Add the splash of wine to deglaze the pan, and stir everything to cook out the alcohol.
Add in the pumpkin purée and the water, and stir to combine. Add salt, a sprinkle of ground cloves and cinnamon, and just a touch of curry powder (it can overpower if you add too much!)
Bring the whole thing to a boil, then simmer it all for about ten minutes, stirring periodically.
If using the oven, pre-heat it now to 350°.
Turn off the stove, and using an immersion blender, blend the soup directly in the pot until it’s very smooth. Taste, and add any seasonings necessary.
Transfer to an oven-safe bowl, cover, and bake for 10 minutes, removing and stirring halfway through. (If you prefer, you can also just simmer on the stove, covered, for ten minutes.)
Remove the bowl (or pot) from the heat, and add in about a tablespoon of heavy cream. Stir to combine, and add salt and pepper as needed. Enjoy with another swirl of cream, or a big pat of butter!
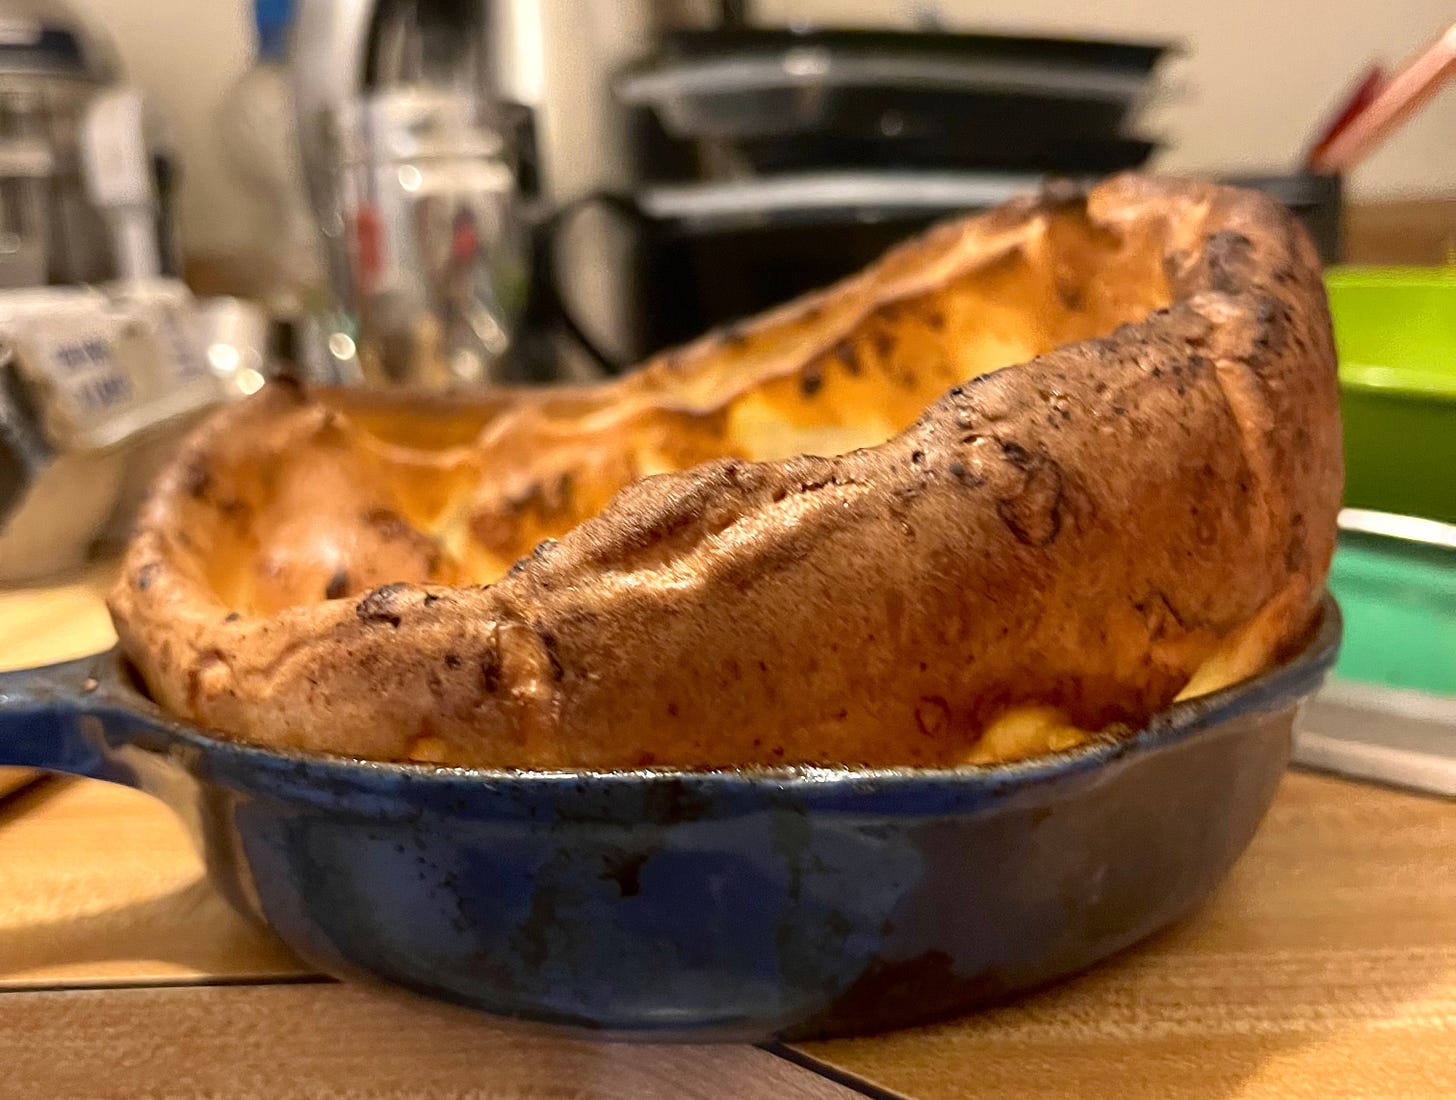
Solo-sized Dutch baby pancake
Time: 30 mins | Difficulty: 2/5 | Recommendation: Weekend breakfast
Dutch babies are the BEST! (I’m only speaking in terms of pancakes. I can’t make a verdict on babies from the Netherlands.) They’re fluffier, more fun, and more decadent than a normal pancake, and come together just as quickly. This recipe scales the Dutch baby down as small as possible, using just one egg. Use the smallest oven-proof skillet you have (ideally around 4-5 inches in diameter), and top it with anything your heart desires! Fresh berries and jam and something sweet like maple syrup, chocolate sauce, or caramel sauce are my recommendations…
Ingredients/Special tools:
1 egg
1/8 cup flour
1/8 cup milk
1/2 teaspoon sugar
Salt
1 1/2 tablespoons of butter
A big bowl
A whisk
A tiny skillet
Method:
Pre-heat the oven to 425°. Add the butter to the skillet and let it melt in the oven as it heats up.
Whisk the egg in the big bowl. Then add the flour, then the milk, then the sugar and salt, and whisk it all very well until the batter is thin and smooth.
Remove the skillet from the oven, and moving quickly, pour in the batter.
Bake for 8 minutes. The sides of the Dutch baby should be tall and fluffy, and the middle should be custardy!
Pumpkin bread pudding
Time: 30 mins | Difficulty: 2/5 | Yield: 1 or 2 servings for breakfast!
I love bread pudding, and I love fall flavors, and I love single-serve easy breakfast dishes. This recipe combines all those things!! It’s delicious straight out of the oven (carefully), but it also keeps really well for a next-day breakfast, either microwaved or chilled. A dusting of powdered sugar on top brings it all together. To mix things up, you could add walnuts, chocolate chips, raisins, or anything else to the custard that your heart desires!
Ingredients/Tools:
2 slices of bread
Butter
1/2 cup milk
1/2 cup heavy cream
3 tablespoons of pumpkin purée
Cinnamon
1 egg
2 tablespoons sugar
Powdered sugar
A bowl
A pot
An oven-safe dish or small pot
Method:
Pre-heat the oven to 350°.
Add the milk and cream to a pot, then heat. Let the liquid simmer, then lower the heat and add the pumpkin purée and a dash of cinnamon. Stir well to combine and turn off the heat.
Butter both sides of the bread slices, and add them to the oven-safe dish.
Crack the egg into a bowl and whisk it well. Then add the sugar and combine.
Slowly add the warm pumpkin cream to the egg, stirring constantly as you add so the egg doesn’t cook.
Pour the liquid into the dish, over the bread slices. Bake for 20 minutes, until the custard sets and its bubbles are small. Let it cool and continue to set slightly before cooking. Dust with icing sugar and enjoy!
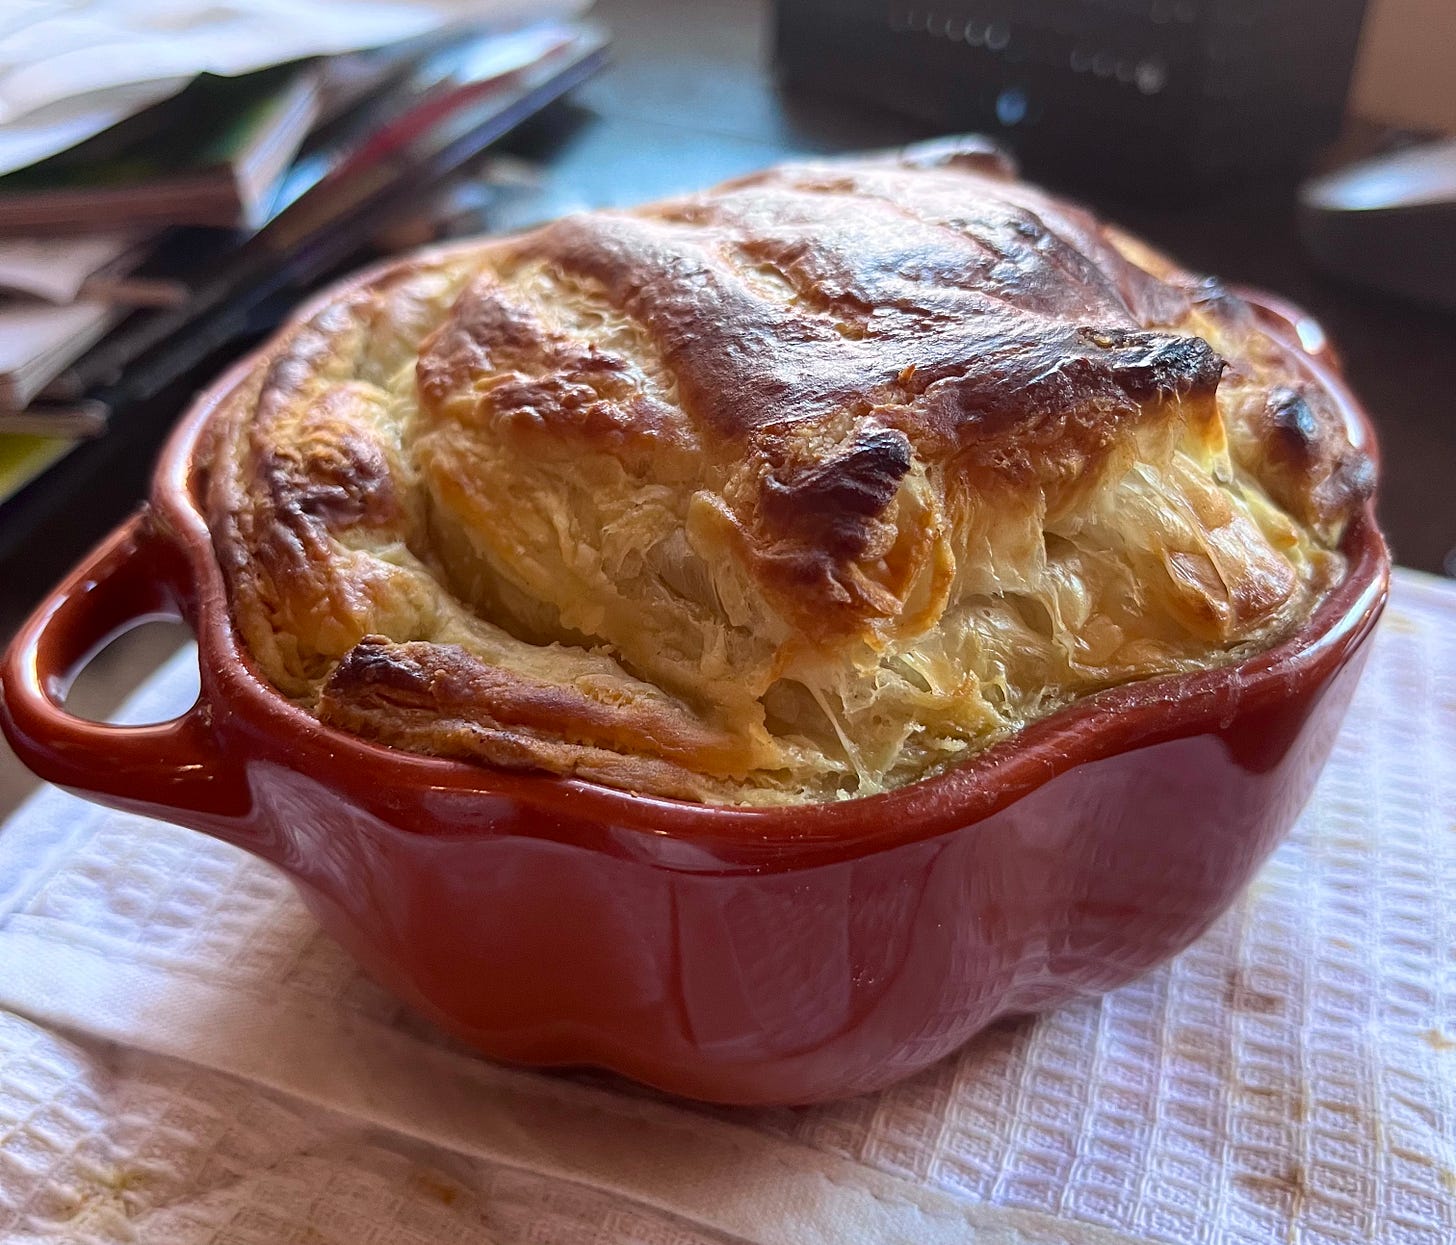
Curried Mushroom Pot Pie
Time: 1 hour | Difficulty: 2/5 | Yield: 1 serving
This recipe for mushroom pot pie leads to the definition of coziness in a bowl. It’s perfect for lunch or dinner, when it’s gray and chilly outside and you have a bunch of random vegetables to use up! In addition to the mushrooms, I recommend some sort of onion or allium, potatoes, something green, and another root veggie like carrots or parsnips. I used half and half here instead of heavy cream, but if you want to use heavy cream and stock instead, you can try 1/2 a cup of cream with 1/4 cup of vegetable or chicken stock. Another tip: I used a milk wash here on the puff pastry, because when I’m cooking something small for one, cracking an entire egg just for a tiny egg wash feels wasteful. But if you want a shinier result, wash with egg and a touch of water before baking! And lastly, I made this in my oven-safe mini pumpkin cocotte, which can’t go on an open flame on the stove, so I used both a stove-safe pan and the oven-safe pot. But if you want to minimize your pan usage, make the whole thing in an cast iron skillet!
Ingredients:
Two big handfuls of mushrooms (I recommend meatier ones like creminis and oyster mushrooms)
Other vegetables: I recommend 1/2 an onion, a small leek, a couple small carrots, and a small potato
1.5 tablespoons of flour
3/4 cups of half and half (or 1/2 cup of heavy cream and 1/4 cup of stock)
Herbes de Provence
Curry powder
1/3 of a sheet of puff pastry (the frozen ones usually come folded into thirds—just cut off one third, so you don’t have to thaw the whole sheet!)
Butter
An egg, or milk, for the pastry wash
Method:
Chop the cremini mushrooms into quarters or sixths, and rip the oyster mushrooms apart. Chop the other vegetables into hefty pieces.
In a pan, heat about a tablespoon of butter with a touch of olive oil, and add the mushrooms. Sauté until the mushrooms have browned and shrunken down. Add salt, pepper, and herbes de Provence at the end. Set aside when cooked.
Pre-heat the oven to 425°.
In the same pan, heat some more butter, and add in the rest of the vegetables. Sauté them down for a few minutes, until the potatoes are soft and the onions are translucent, and add salt, pepper, herbes de Provence, and curry powder.
Add the flour to the pan, and toast it all together on low heat for about a minute.
Add the half and half, and stir it all to combine. Let it simmer for a couple minutes until the mixture has thickened nicely and coats the back of a spoon. Taste, and add more salt and pepper as needed.
Transfer the cream mixture and the mushrooms to an oven-safe pot. Cover the whole thing with the puff pastry sheet, and tuck in the edges. Score the top in any pattern you like (I like to do five or six parallel lines).
Brush the top with some milk.
Bake for about 15 minutes, until the puff pastry is golden and fluffy!

