


This $10 kitchen tool transformed my cooking
Not an ad...just a meditation on kitchen gadgets!

I’m a sucker for kitchen gadgets. Can you blame me? Candle-powered raclette grills, mini wooden spoons specifically for mustards, little cocottes shaped like tomatoes and pumpkins…I have an extensive list of whoozits and whatsits galore taking up space in my kitchen drawers.
But there’s one simple tool I recently acquired that has completely transformed the way I approach my tiny cooking space: a $10, stainless steel, 2inchx4inch tub of sorts, known in professional kitchens and catering businesses as a steam table pan.
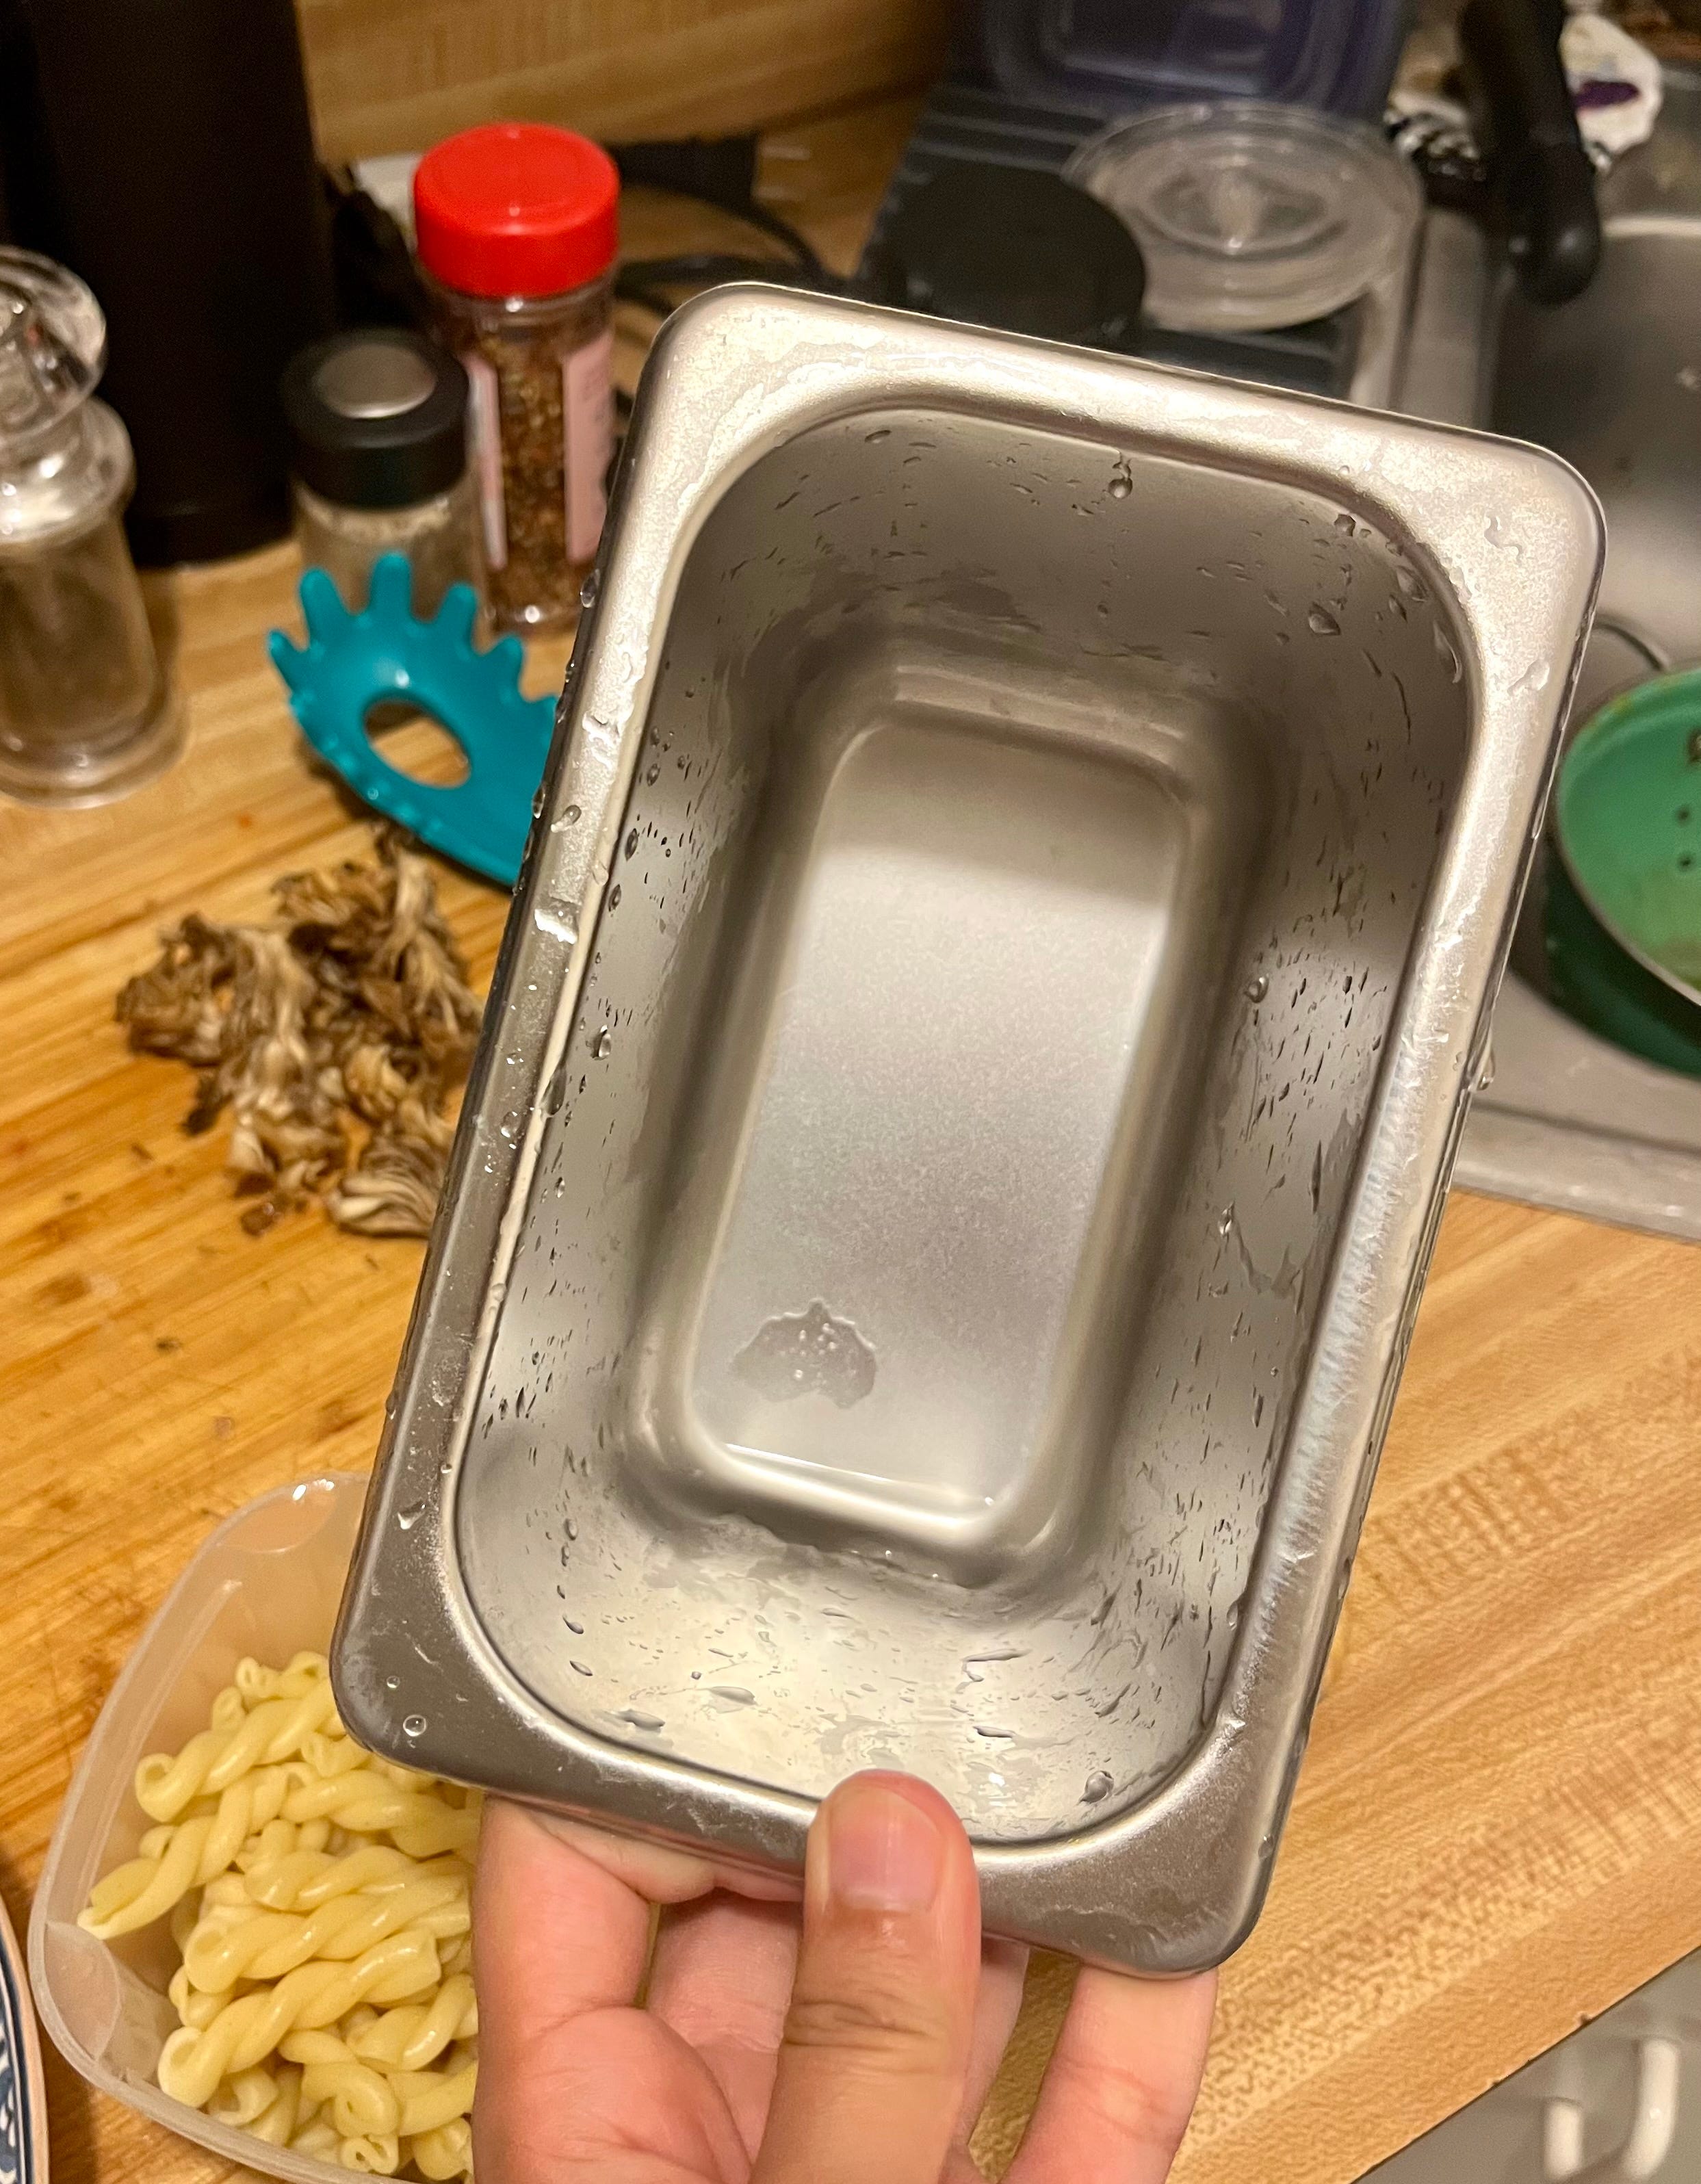
In hotel or catering kitchens, larger sized steam table pans can be used for both prep and serving—big versions of the picture above are usually what you see at a buffet. In a prep kitchen, various sizes of these little tin tubs can be used as part of a chef’s “mise en place,” and if you’ve watched The Bear, you’ll know that mise en place is the set-up that chefs use to make their workspaces as easy-to-use and accessible as possible in a fast-paced kitchen. Things are usually less fast-paced in a home-cook’s life, but that doesn’t mean that these table pans can’t serve a valuable purpose for you, too.
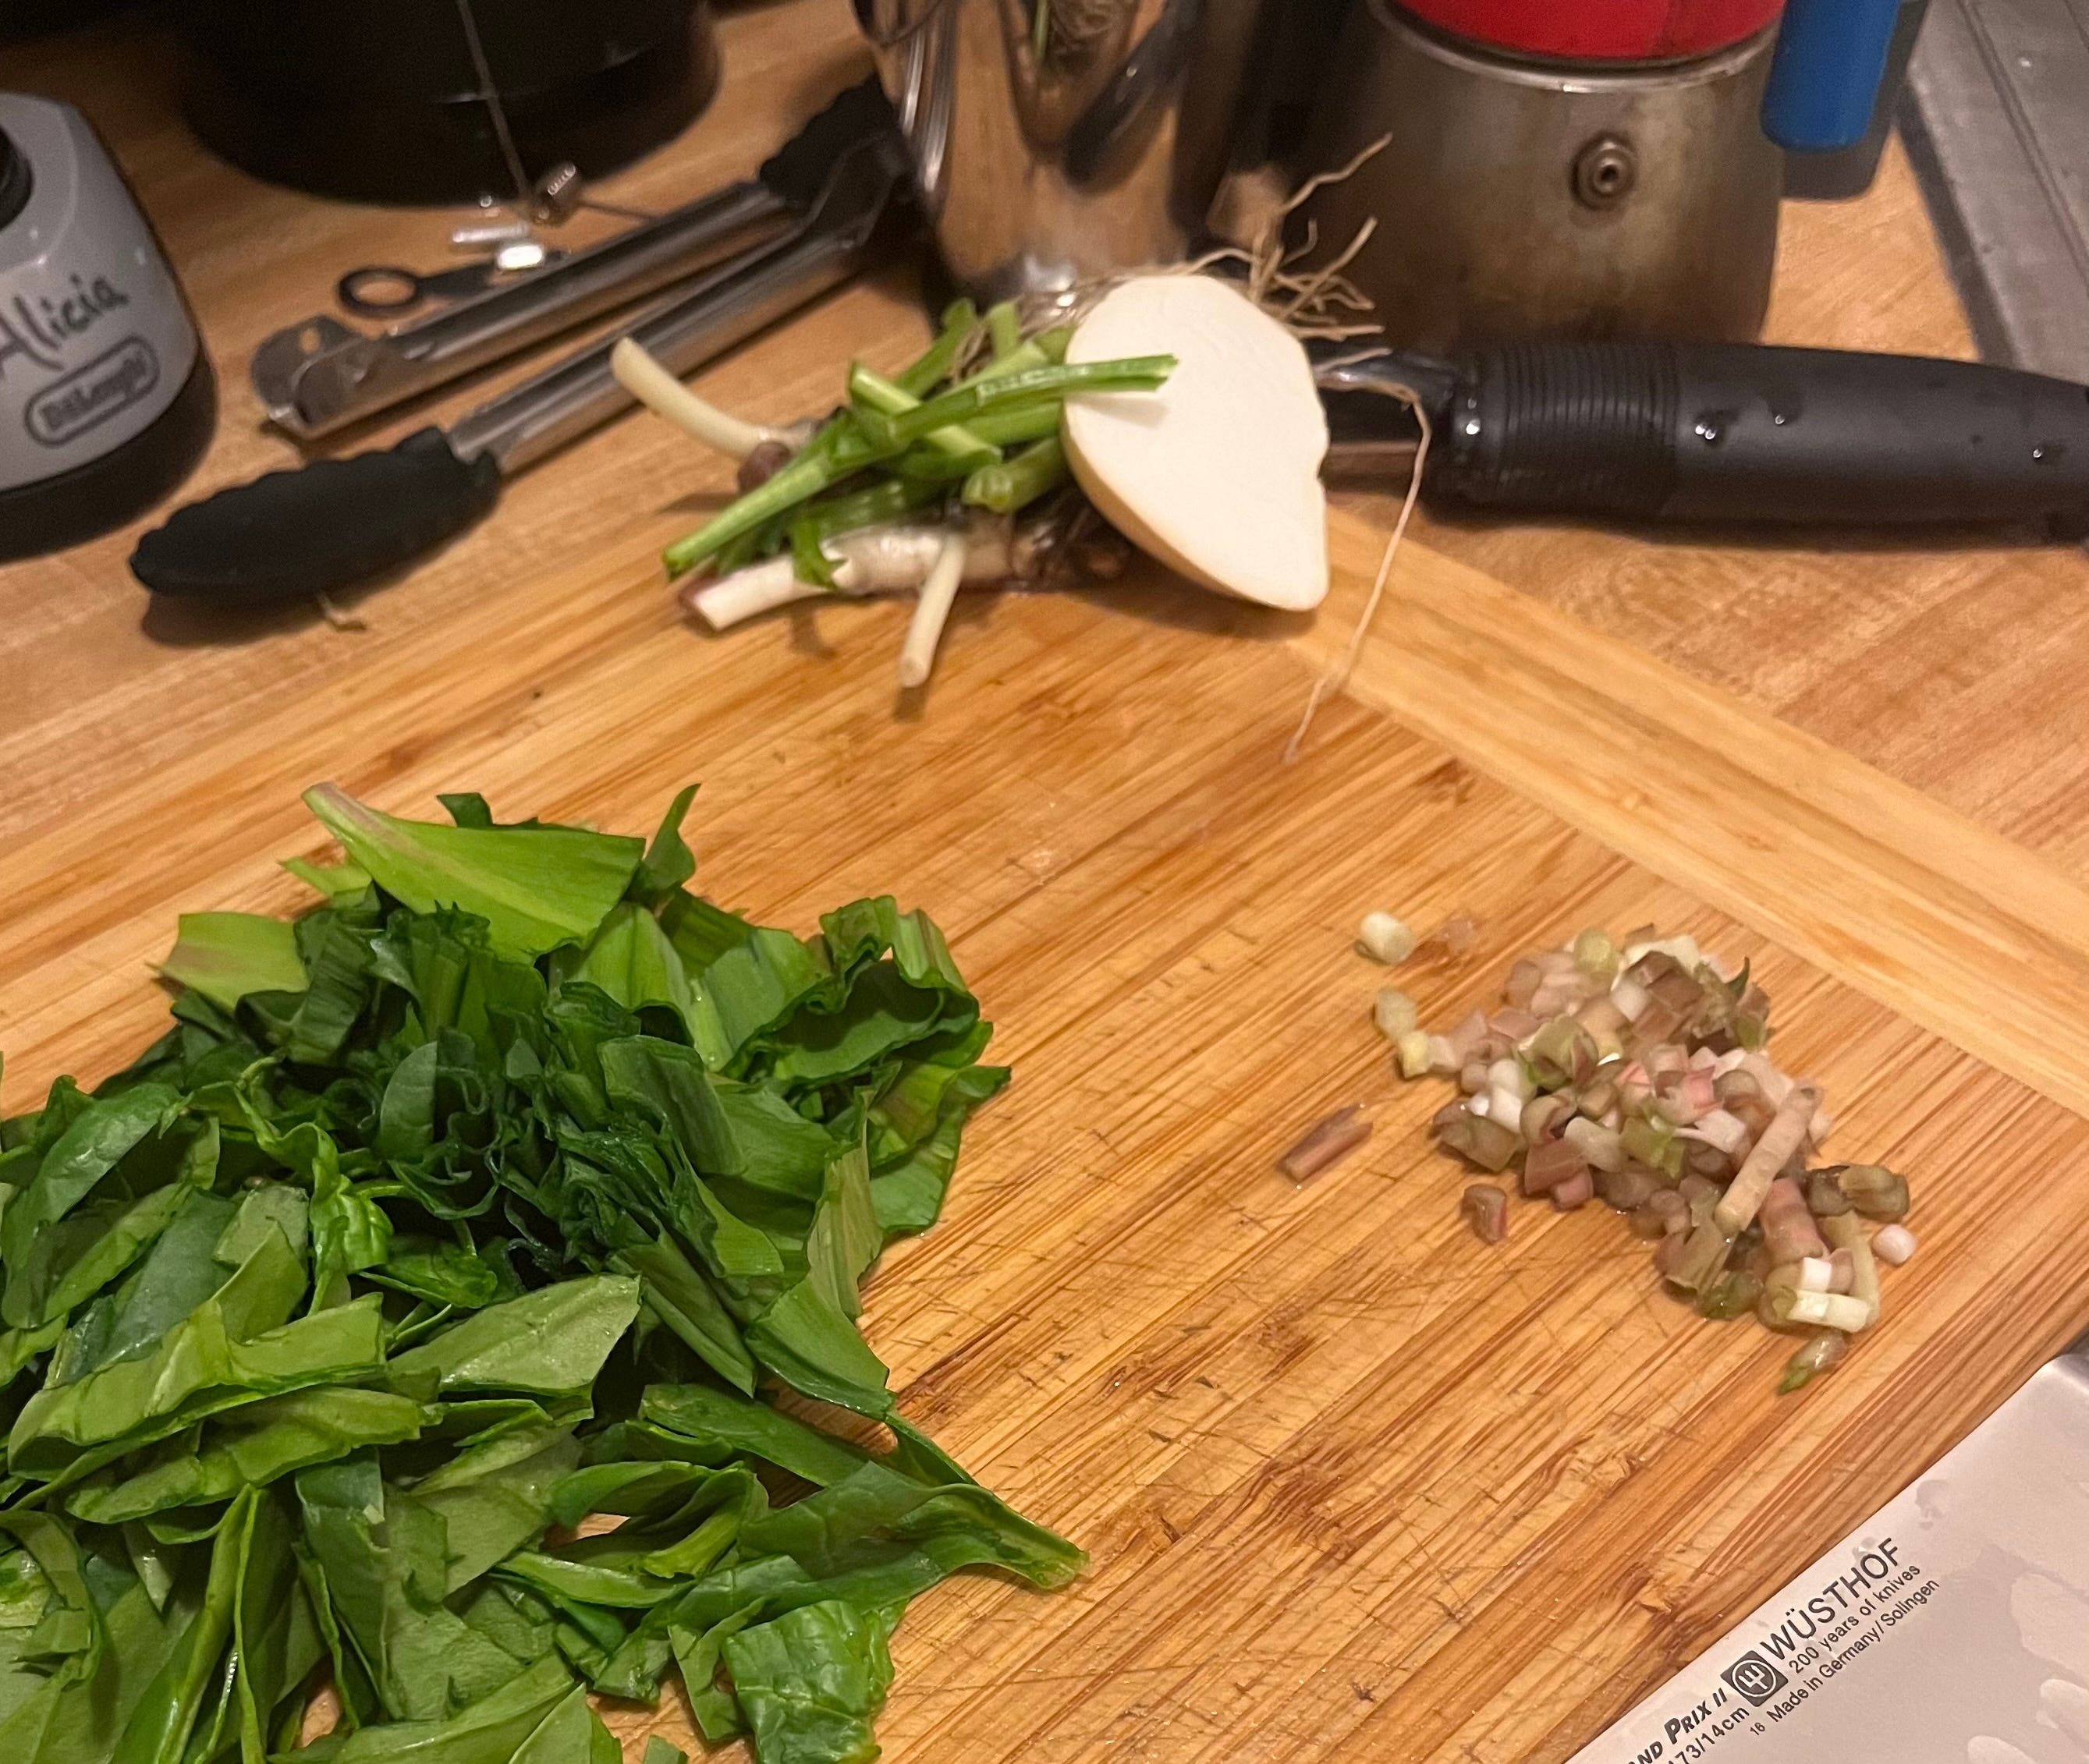
I like to use mine as a temporary disposal area, where I can place potato peels, onion roots, and anything else I typically discard when I’m prepping ingredients for myself. Even paper towels can hang out in there as I’m cleaning up, before heading ultimately for the trash or compost.
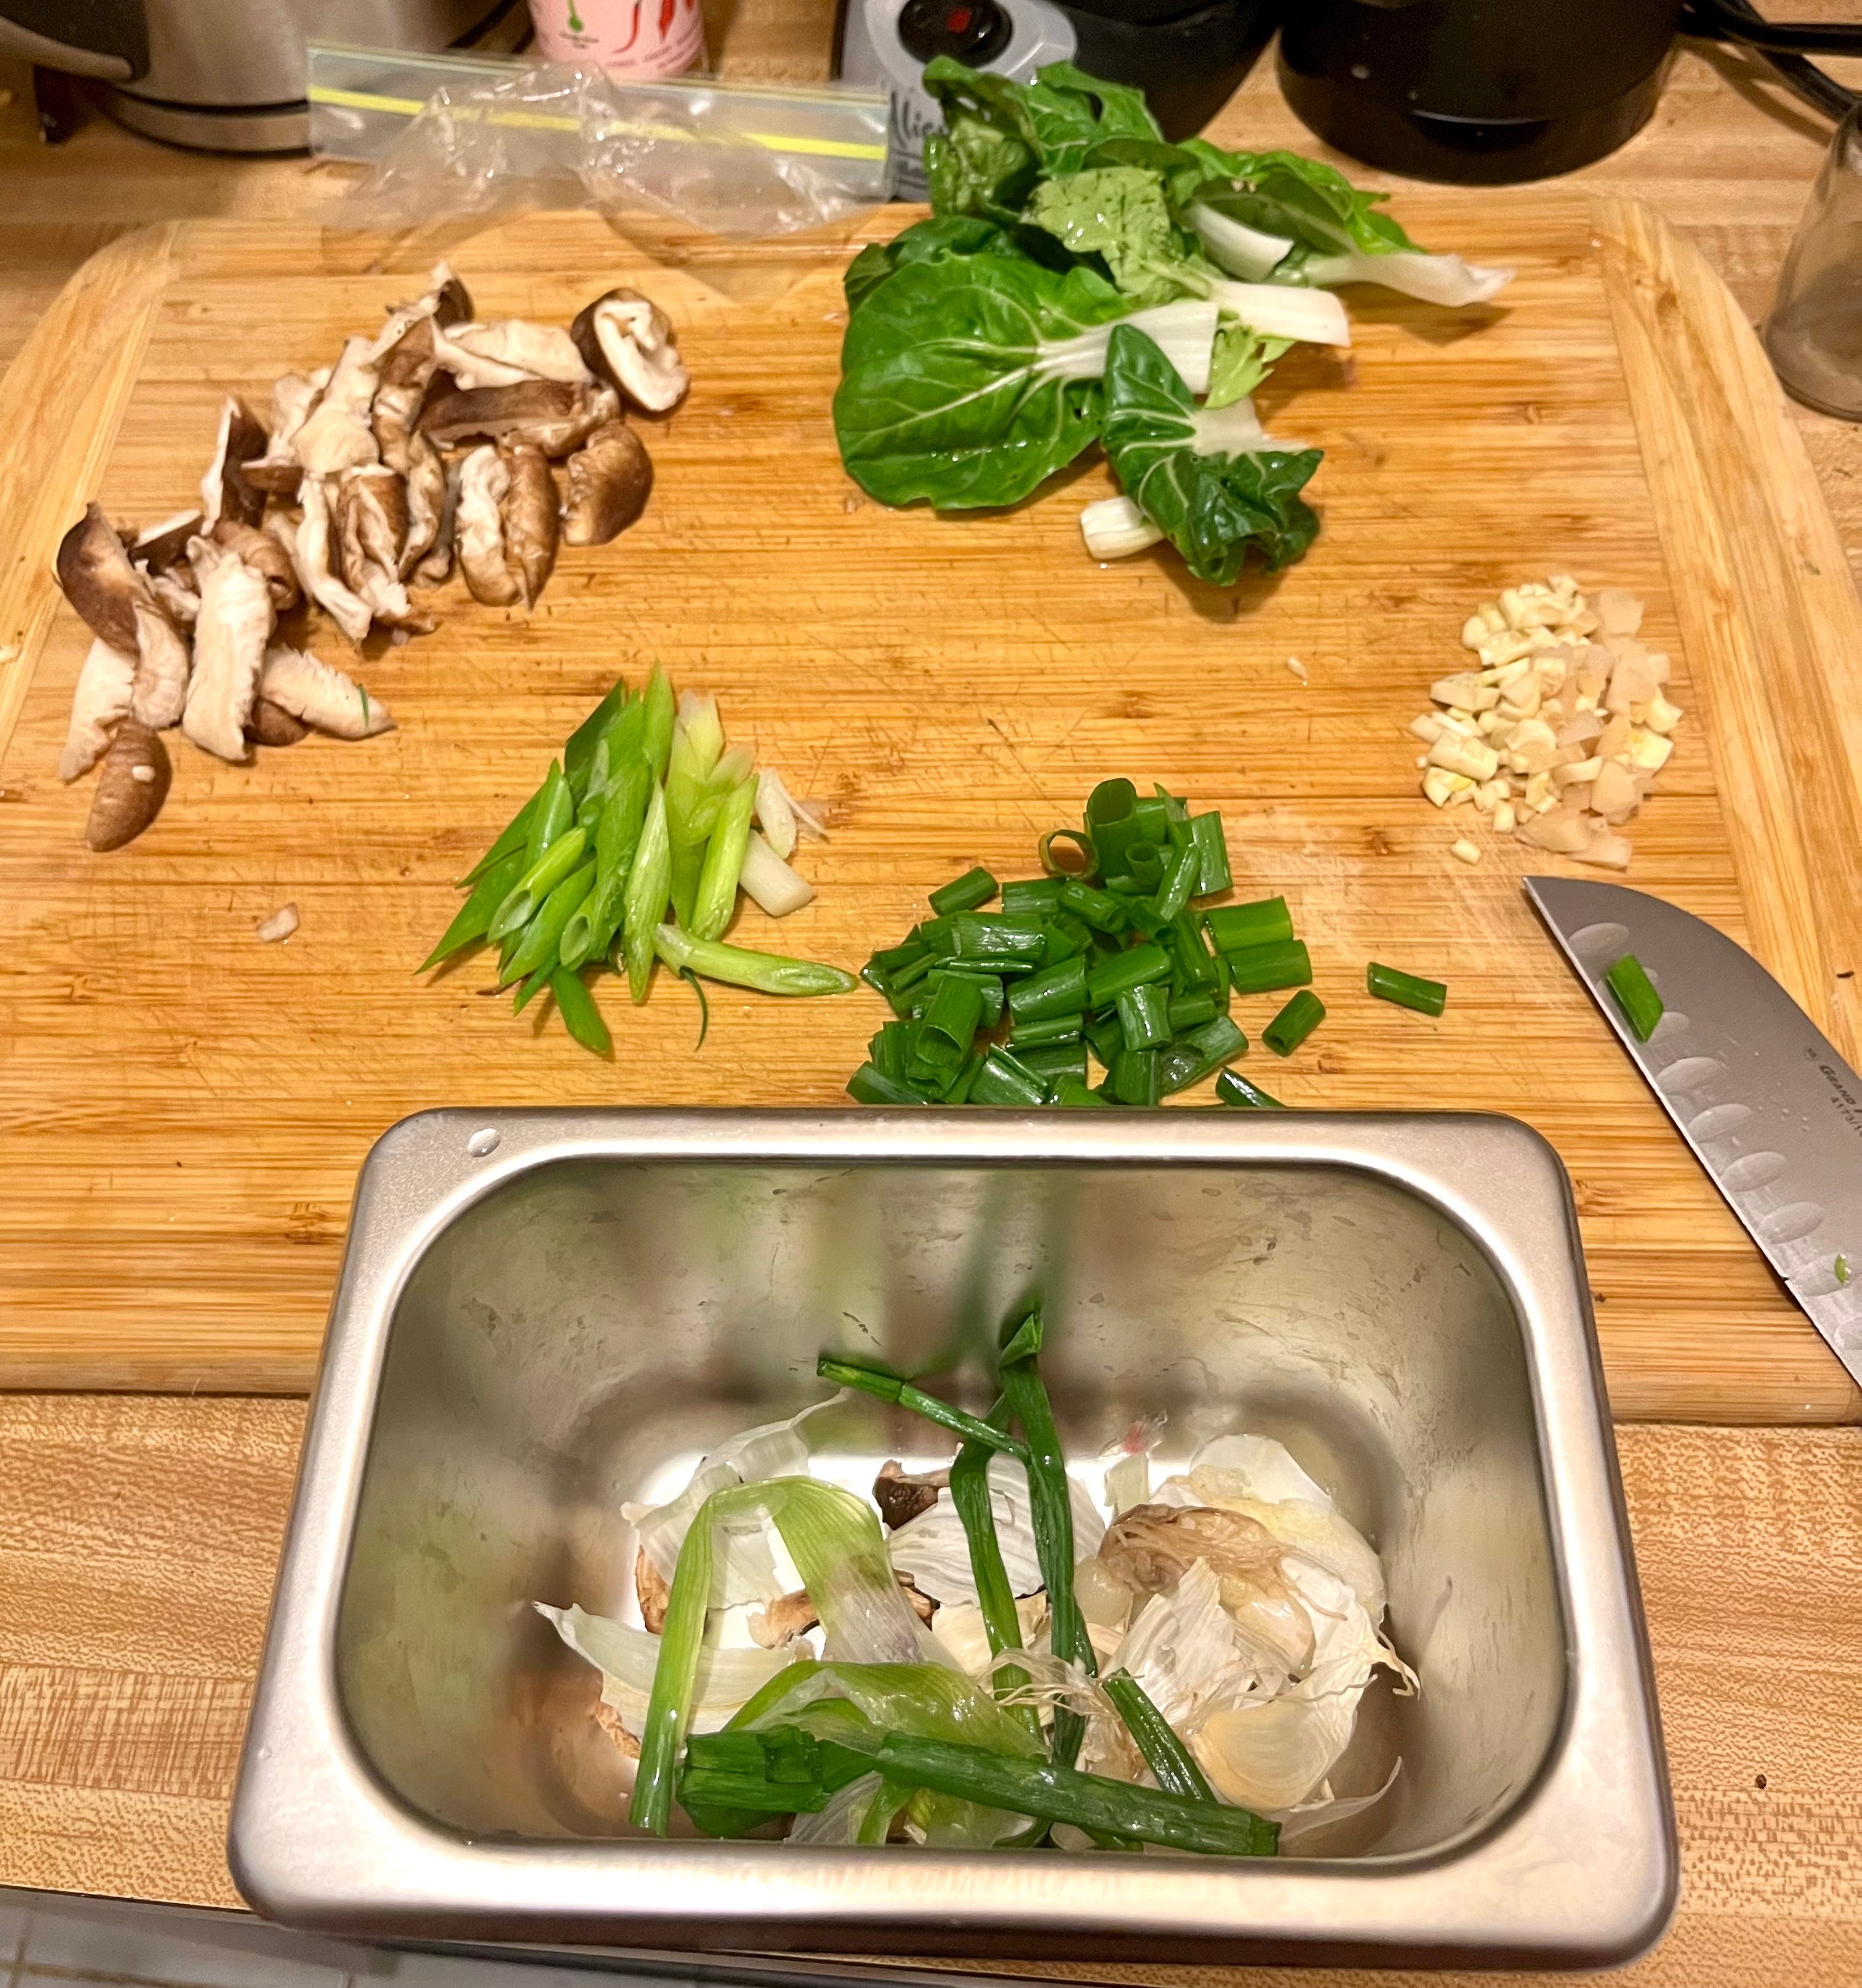
Now I know, this sounds simple enough—an easily-accessible receptacle for all your discards while you’re cooking is not that revolutionary. (In fact, it’s often one of the number one tips that food writers and professional chefs recommend for home cooks). But in a way, that’s the beauty of this simple tool—it reminded me that small adjustments can often make your everyday habits much more user-friendly and space-friendly. The table pan helps me save space on my cutting board (no more pushing garlic skins and ginger nubs to a pile in the corner), and saves time moving back and forth to the trash—I can just collect everything in the little table pan, then discard it all at once.
This is all to say, it’s not always about what you cook—sometimes, it’s about how you cook. When you’re in a tiny New York kitchen, any tool that helps you create more space is an invaluable one. With my little table pan, I’ve added a new dimension to my cooking process, that makes everything feel easier and more satisfying. I’ve always looked forward to cooking; now, I’ve found a new, and exciting way to approach my space and my ingredients!
Below are a few of the new recipes on my site! If you’re making them, or as you’re cooking anything for yourself, I encourage you to think about how you use your space, and what you can do to bring more ease and joy into your cooking routines!!
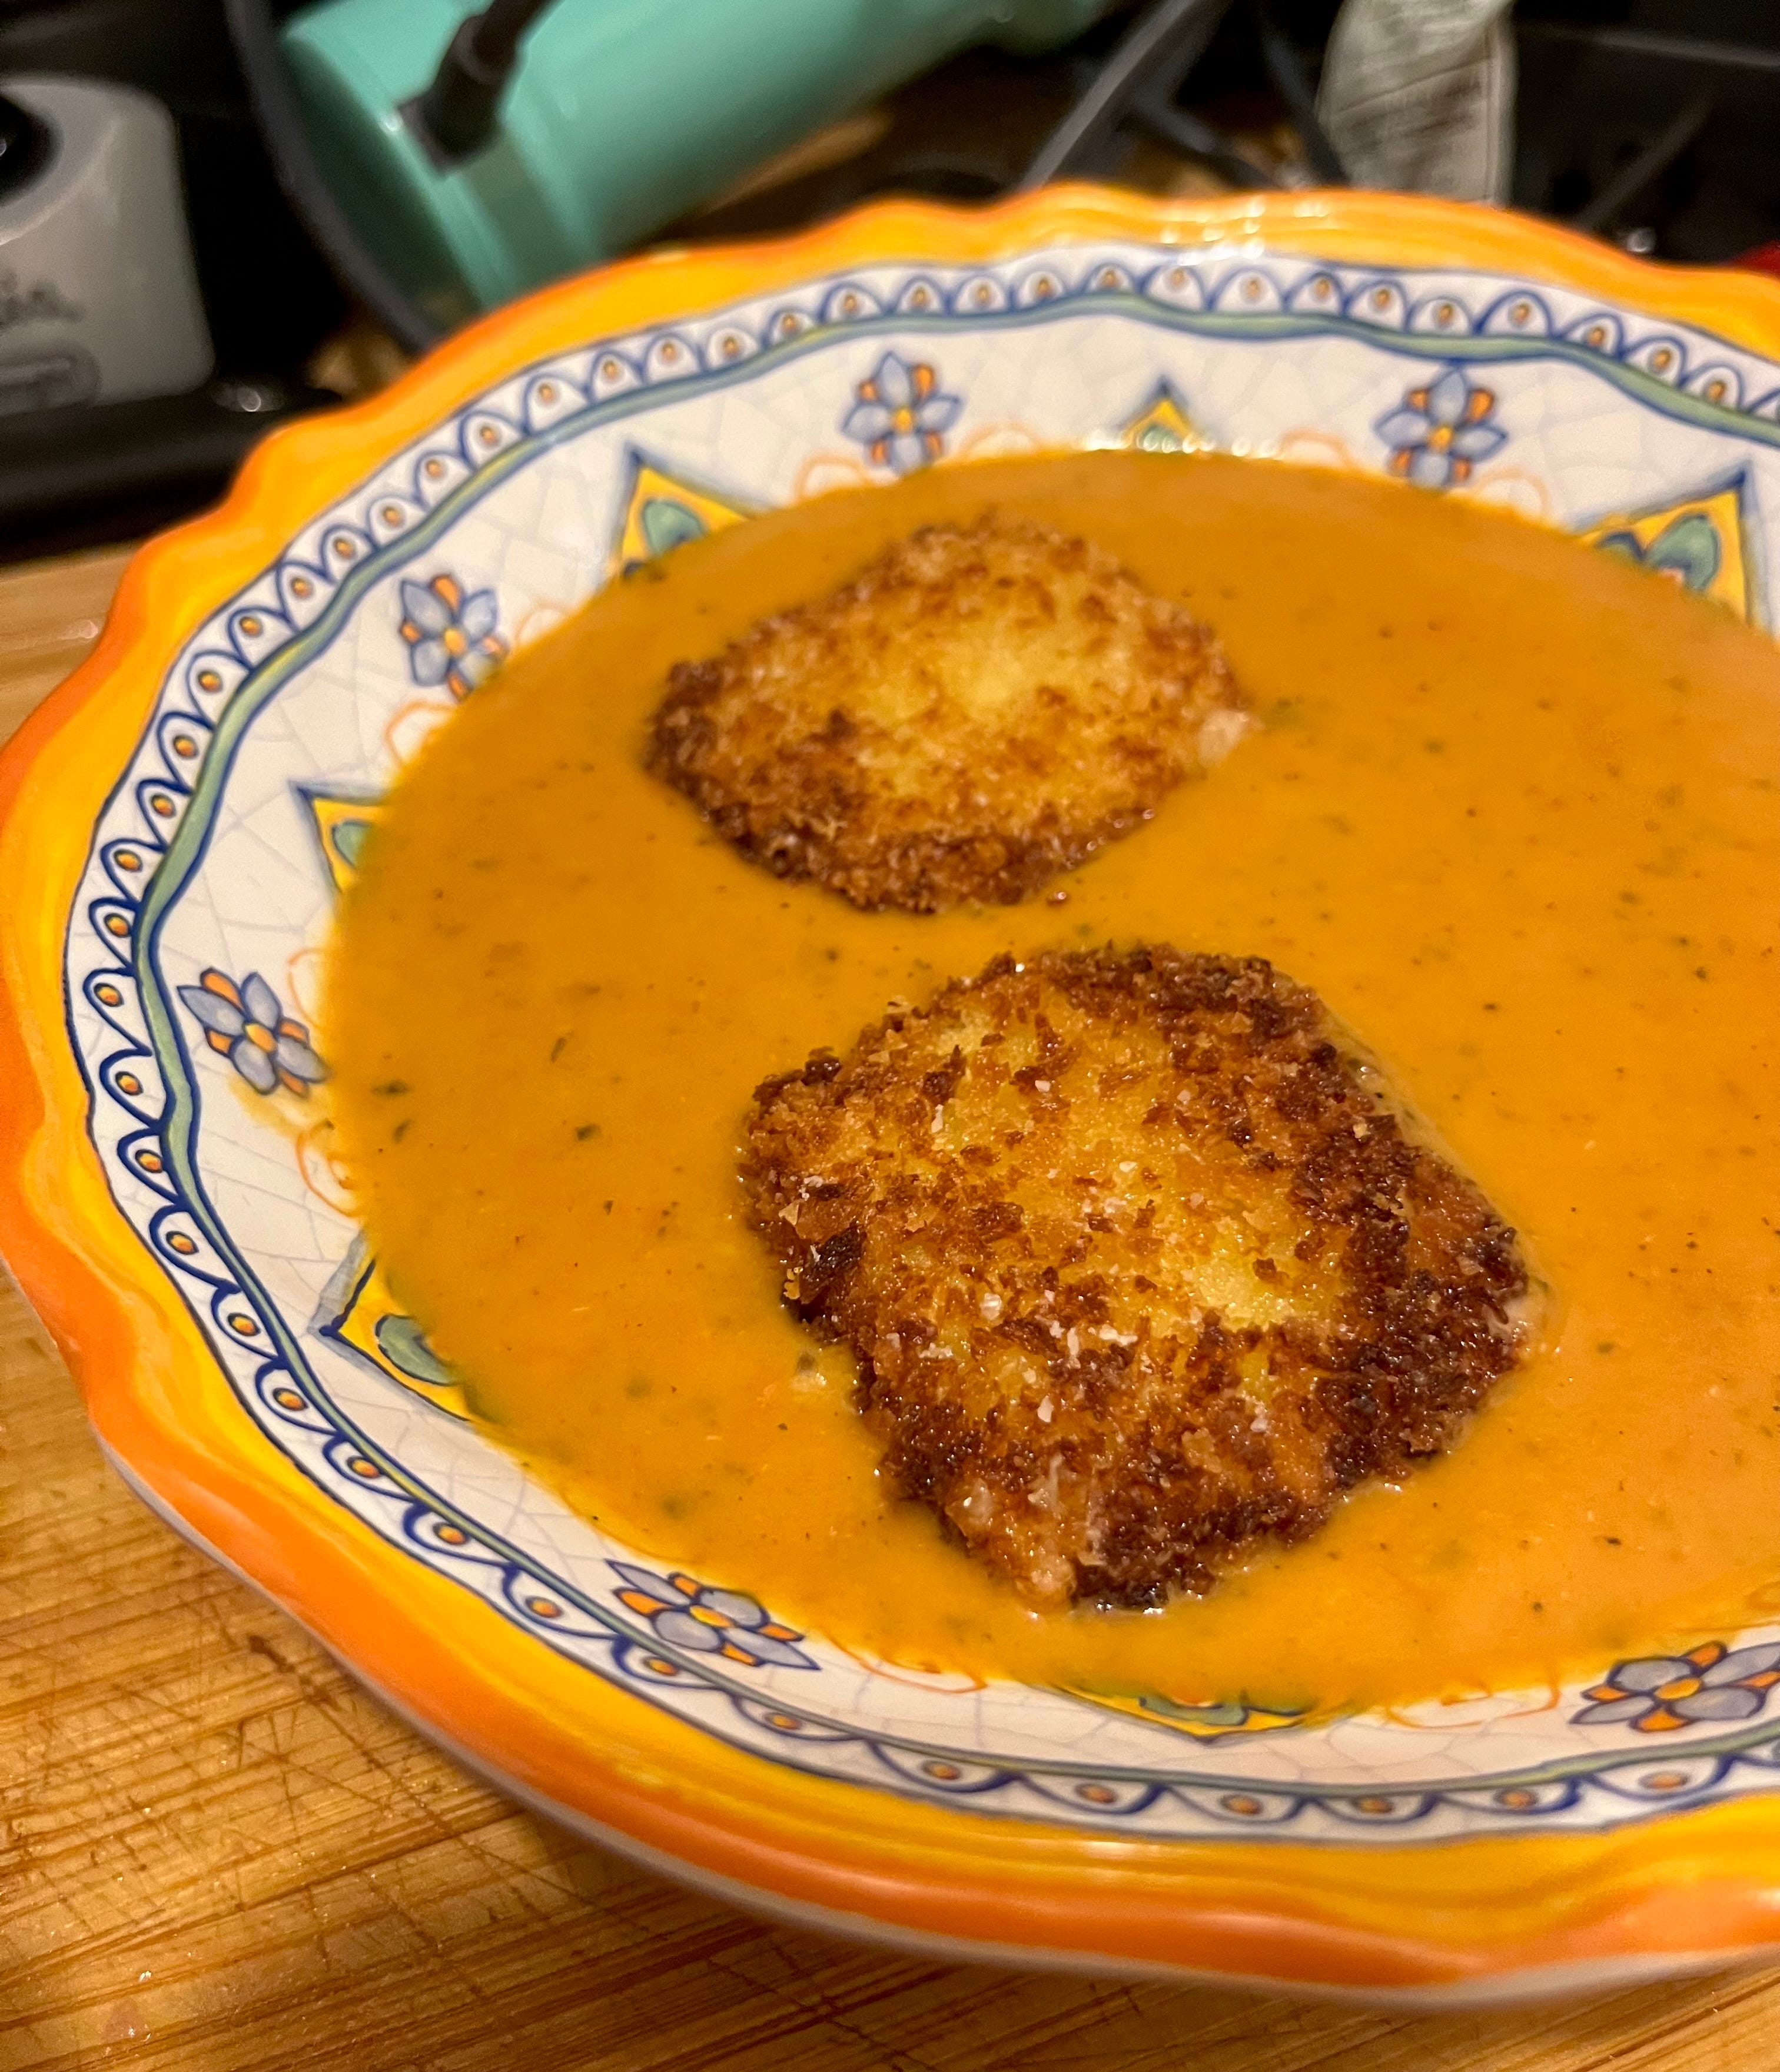
Tomato basil soup with fried cheddar
Time: 1 hr | Difficulty: 3/5 | Yield: 1 bowl of soup
Making soup from scratch might seem like a big task—chopping, blending, simmering, etc. But the majority of the work is actually done in the pot, while you lounge on the couch and wait! This tomato soup is silky and creamy and fully vegetarian, and it’s perfect for summer. I recommend using a fresh, meaty heirloom tomato—the type that you can SMELL when you cut into it! The fried cheddar on top is of course optional, but it’s a great way to make this feel more like a full meal (and a fun substitute for grilled cheese). And yes, this recipe does use an immersion blender. If anyone is hesitant about the immersion blender, I want to convert you!! The clean-up is easier, it’s smaller, and it’s way simpler for one person to use. Get on board the immersion blender train!!
Ingredients/Tools:
For the soup:
1/4 white onion
2 garlic cloves
1 heirloom tomato (should be about the size of your palm)
Butter
1 tbsp flour
A splash of white wine
1 cup of water or stock
1/4 cup heavy cream
1 tsp sugar
1/4 cup basil leaves
Immersion blender
For the fried cheese:
6 squares of cheddar (I recommend using the pre-sliced ones from Cabot!)
Flour
Panko breadcrumbs
1 egg
Vegetable oil
Method:
Prepare the cheese: Stack two slices on top of each other, then coat them in the flour, then egg, then breadcrumbs. Then dip once again in the egg and again in the breadcrumbs. You’ll end up with three chunks of breaded cheese! Place the cheese in the freezer while you prepare the soup.
Dice the onion and the tomato, and slice the garlic. (No need to chop too finely, as you’ll be blending it all later.)
Add 1 tbsp of butter to a pot and heat, then add the onion.
Once the onion starts sweating, add in the garlic.
As the garlic starts to brown, add the tbsp of flour. Stir it all together and let the flour toast nicely, for about 30 seconds.
Add the splash of wine to deglaze the bottom of the pan.
Tip in the tomato, and as much of the juice as possible. Add salt and pepper, and sauté for about a minute, then add the water or stock.
Bring to a simmer, then cover and cook for about 15 minutes, stirring every 5 minutes or so to prevent anything from sticking to the bottom of the pot.
Remove the lid, and transfer the soup to an immersion blender. Add the basil leaves to the blender as well, and blend everything until smooth.
Transfer the blended soup back into the pot. Add the heavy cream and sugar, and taste to see if any more seasonings are needed. Cover and simmer for about 10 minutes.
While the soup is simmering, fry the cheese: Heat vegetable oil in a small skillet (only about 1/2 an inch of oil is needed). Test the heat with a few extra breadcrumbs—once they’re sizzling, the oil should be hot enough.
Add in the cheese squares, flipping once or twice to fully cook. Drain on a paper towel.
Serve the soup with the cheese on top!
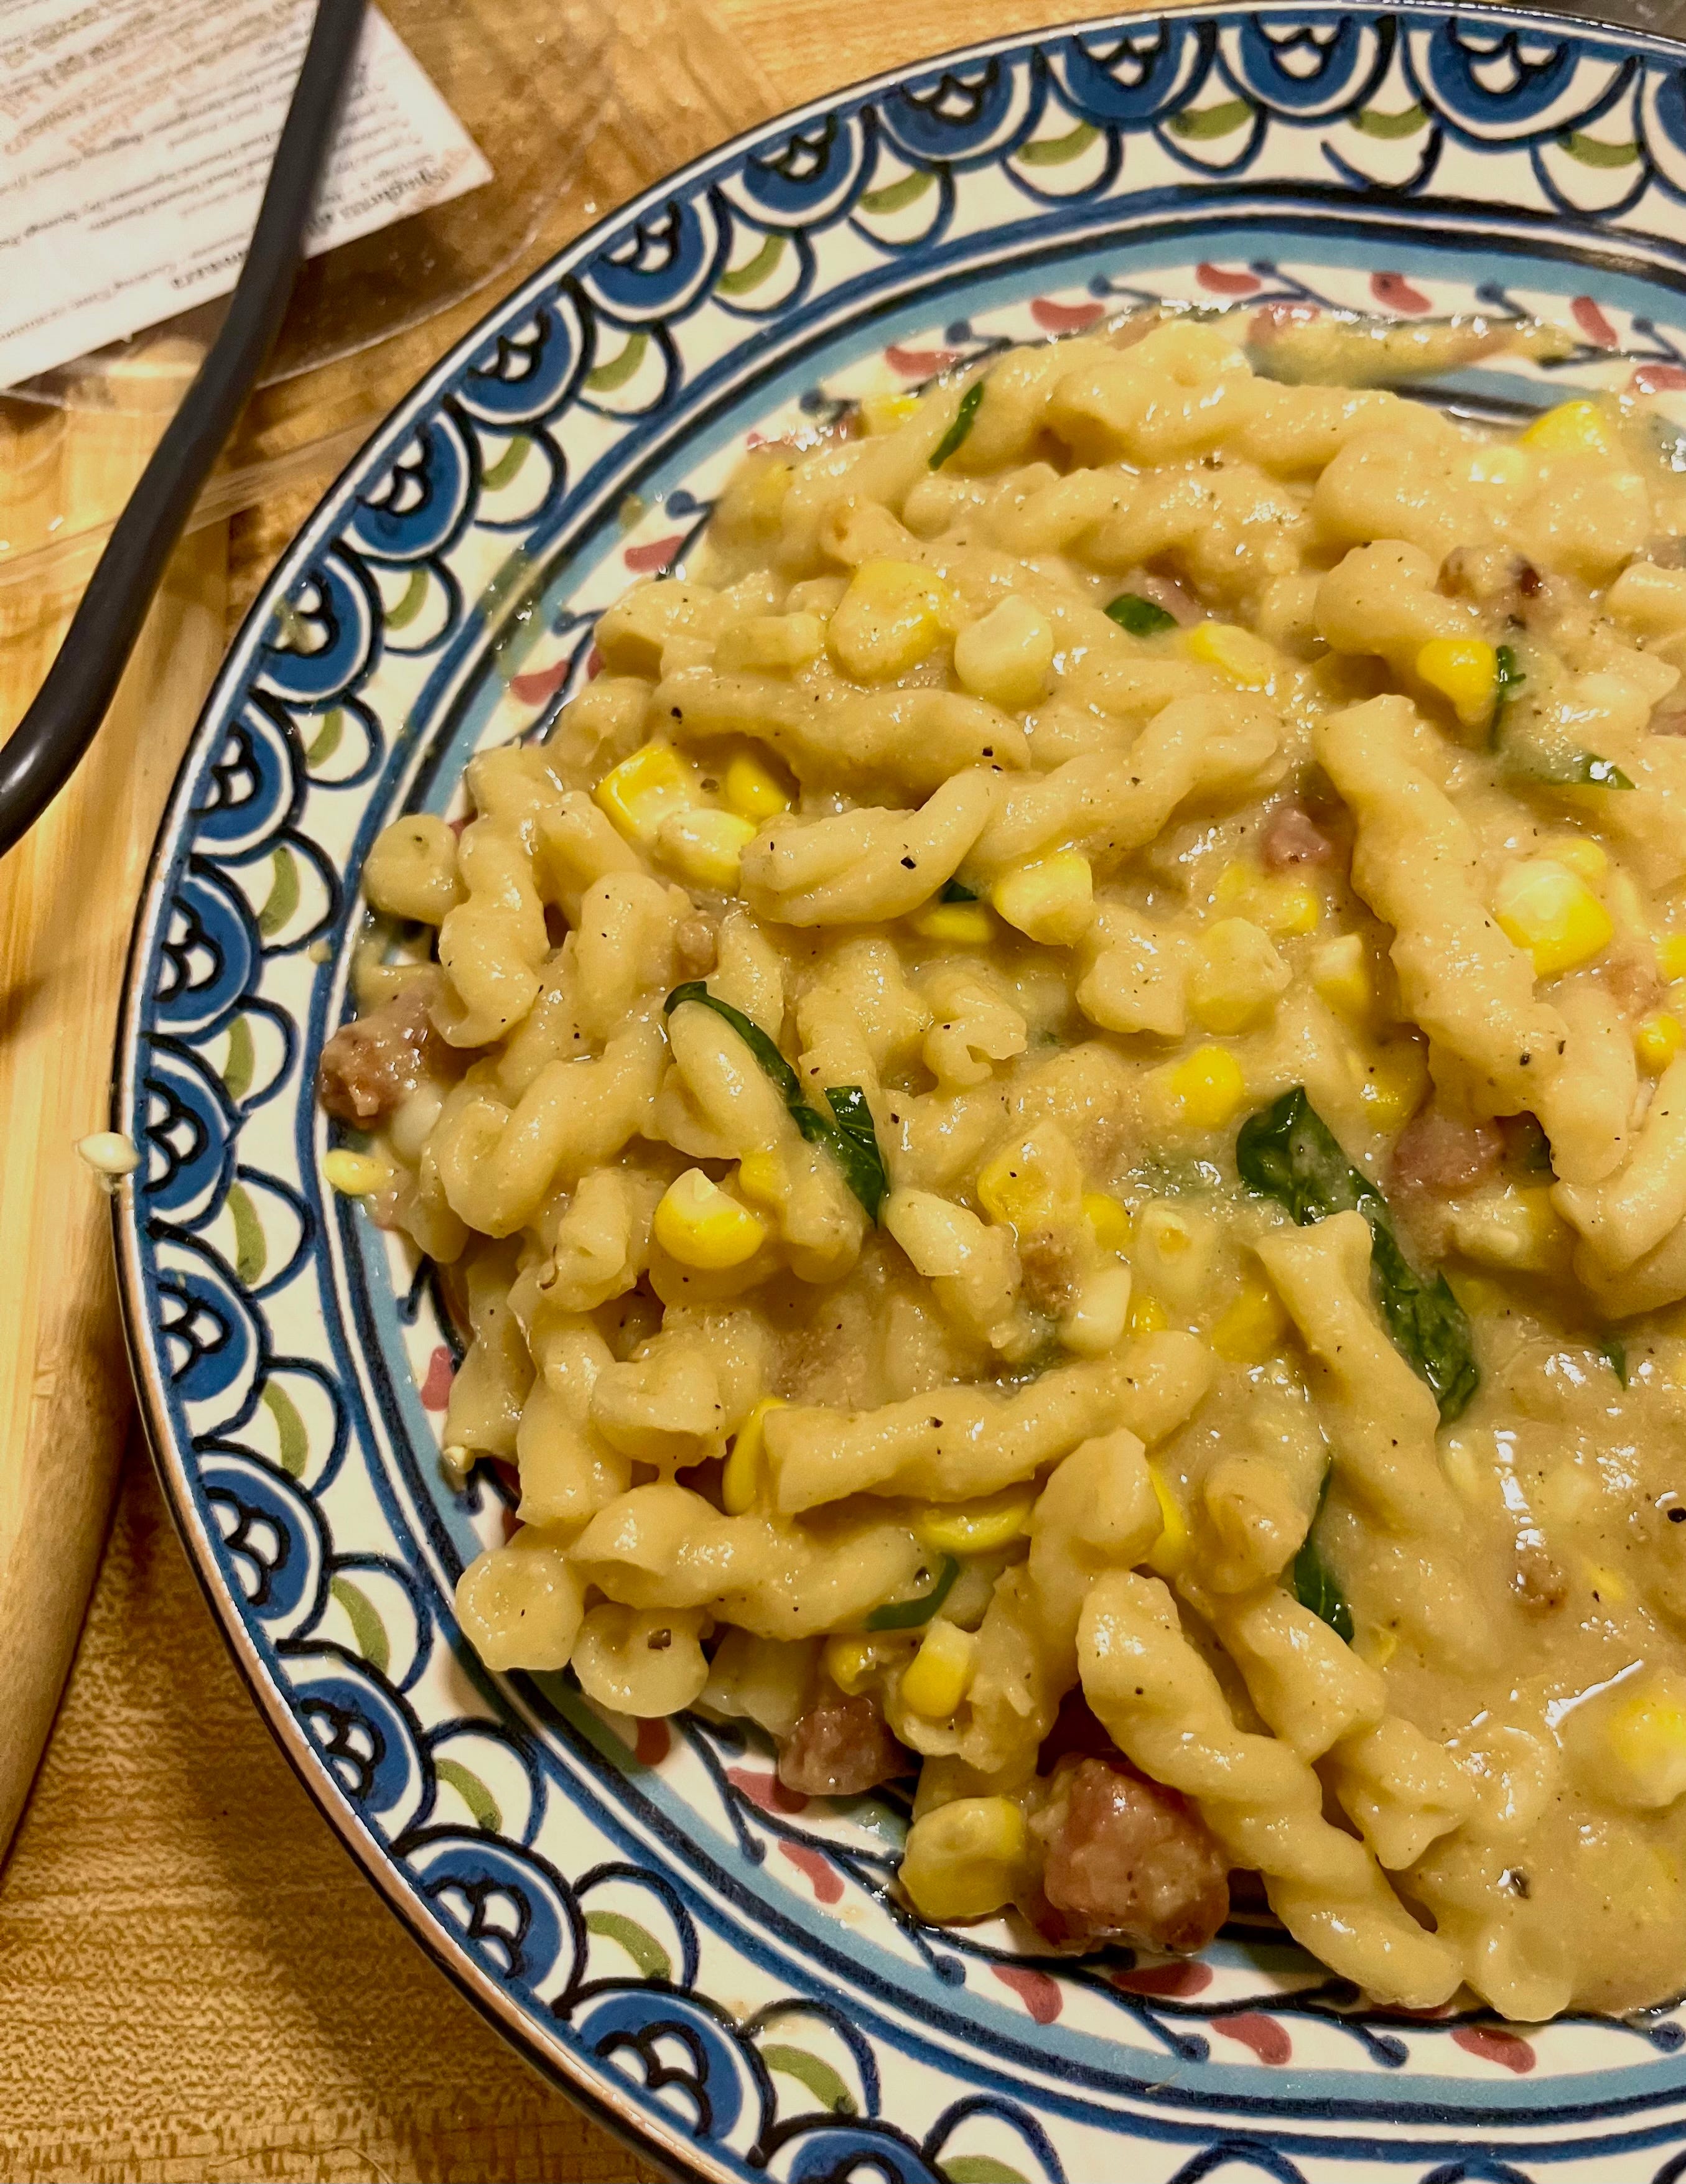
Creamy corn pasta with pancetta
Time: 30 mins | Difficulty: 3/5 | Yield: 1 big bowl of pasta
I developed this recipe after having one of the best bowls of pasta in my life, at Union Square Cafe in New York. I couldn’t stop thinking about it—the tiny explosions of corn kernels, the silky, buttery sauce, the clumps of salty pancetta! It took me SO many tries to get the texture just right —I really wanted to make the sauce from the corn itself, without any added cream or other emulsifiers—but all that trial and error resulted in this really delicious, hearty pasta recipe that I’m very proud of! You’ll need an immersion blender for this (or you could use a small, regular blender, but clean-up will be much more involved), and I recommend using pancetta if you can find it—if not, chopped bacon will do well as a replacement.
Ingredients/Tools:
Pasta (I recommend gemelli, rotini, or cavatappi—something with creases to hold the sauce!)
1 ear of sweet corn
1/4 white onion
1 garlic clove
Pancetta (about 1/4 cup)
Butter
Basil
Parmesan
Immersion blender
Method:
Set a pot of water to boil, and cook the pasta
Slice the corn kernels off the cob. Dice the onion and chop the garlic (no need to chop it too finely, as you’ll be blending it all later).
Cook the pancetta in a pan. Remove with a slotted spoon and set aside when done, keeping the fat in the pan.
Add some butter to the same pan, and the onion and garlic. Sauté until the onion starts to get translucent.
Add a third of your corn kernels to the pan, along with some salt and pepper.
Add some water to the pan, just enough to cover the corn and onions (it’ll be about a quarter-a half cup). Cover the pan, and let the corn simmer and steam until almost all the water is cooked off.
Transfer the corn and onions into an immersion blender. Add half a cup of pasta water, and blend. Then continue adding pasta water, alternating adding and blending, until the mixture is totally smooth (you’ll add about 1/4 cup more water).
Put some butter back in the pan, and add the 2/3 remaining corn kernels. Add salt and pepper, and sauté until the corn has very lightly browned.
Add the blended corn mixture into the same pan, and cook everything down together on low heat.
Add the pasta to the pan once cooked, along with some of the pasta water and some parmesan.
Add the basil, pancetta, a pat of butter, and more parmesan and/or pasta water as needed, to achieve the silky texture you’re looking for!
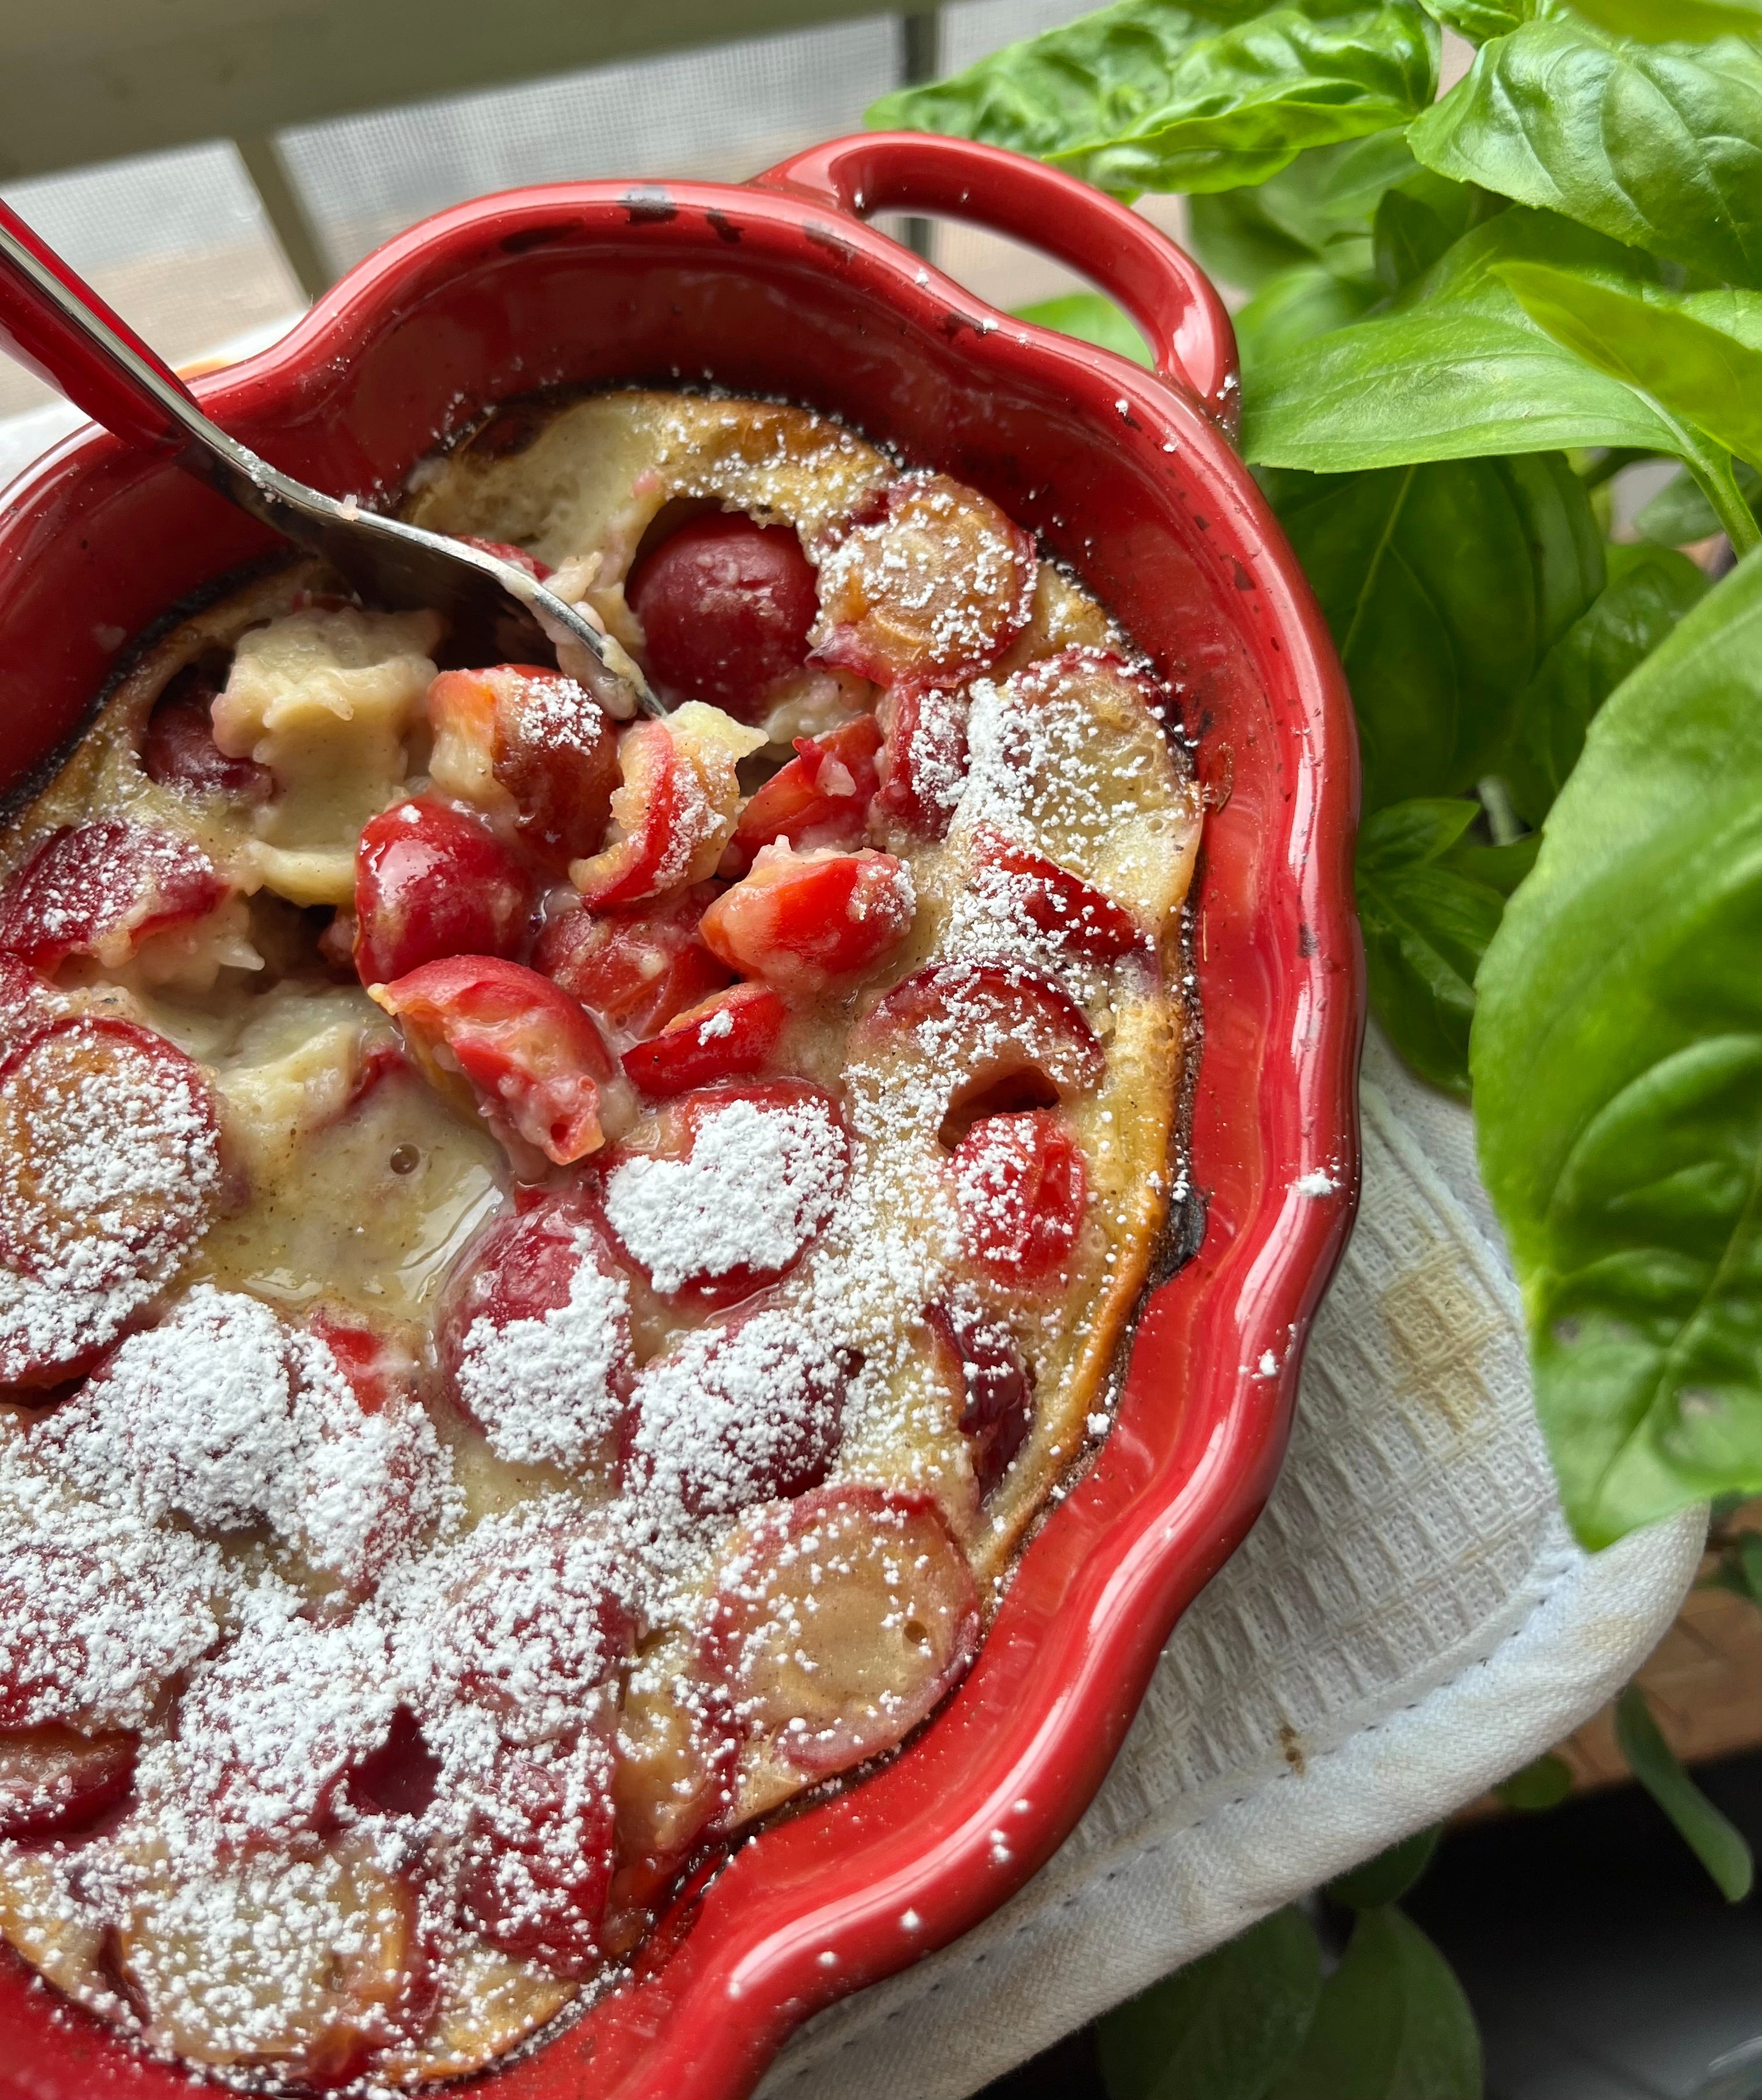
Sour Cherry Clafoutis
Time: 1 hour | Difficulty: 1/5 | Yield: 1 clafoutis
A clafoutis (pronounced clah-foo-tee!) is a thick French custard dotted with berries or fruit, and it’s so much easier to make than it looks or sounds! Sour cherries, the bright red gems of early summer, are perfect for this—they bring a tart bitterness to this semi-sweet custard. And the addition of cardamon brings a spicy nuttiness to the dish. This is perfect for breakfast for brunch for one, and can easily be scaled up if you want to bake for a crowd!
Ingredients:
1 cup sour cherries
1/3 cup of milk
1 egg
2.5 tablespoons of flour
3 tablespoons of sugar
2 teaspoons cardamom of powder
Powdered sugar
Method:
Stem and pit the cherries. (I find the easiest way to do this is with a wide safety pin, or an unfolded paperclip—just stick it through the top of the cherry, and scoop out the pit!) Then cut them in half and add them to an oven-safe dish.
Pre-heat the oven to 375°.
In a bowl, whisk the egg and milk together, then add the flour, sugar, and cardamon powder. Whisk until smooth, then pour the custard mixture over the cherries.
Bake for about 25 minutes, until the custard has settled and has just a slight wobble.
Sift some powdered sugar on top, and try your best to let it cool down before digging in!!
The best gadget in the kitchen I recall being told by my mom was “The water tap”.
Not many people in this world have water available on tap.
I plan on buying a tub like that next chance I get!